You want a calm holiday season, right? Even though December is here, there’s still plenty of time to create beautiful, simple Christmas crafts without the stress. Think cocoa, a cozy playlist, and zero last-minute chaos.
These DIYs look high-end, don’t cost much, and instantly make your home feel warm and festive. Ready to add some charm to your space before the big day arrives?
Start with a Mood and a Plan
You don’t need a design degree to make your home look festive. Pick a vibe: rustic woodland, glam metallics, Scandinavian minimal, or candy-cane chaos.
Then make a short list of décor to tackle: wreath, garland, ornaments, table accents, and something that smells like cookies (because you deserve that). Pro tip: Choose a color palette and stick to it. Your future self will thank you when everything looks intentional, not like a craft store exploded.
Supplies to have on hand:
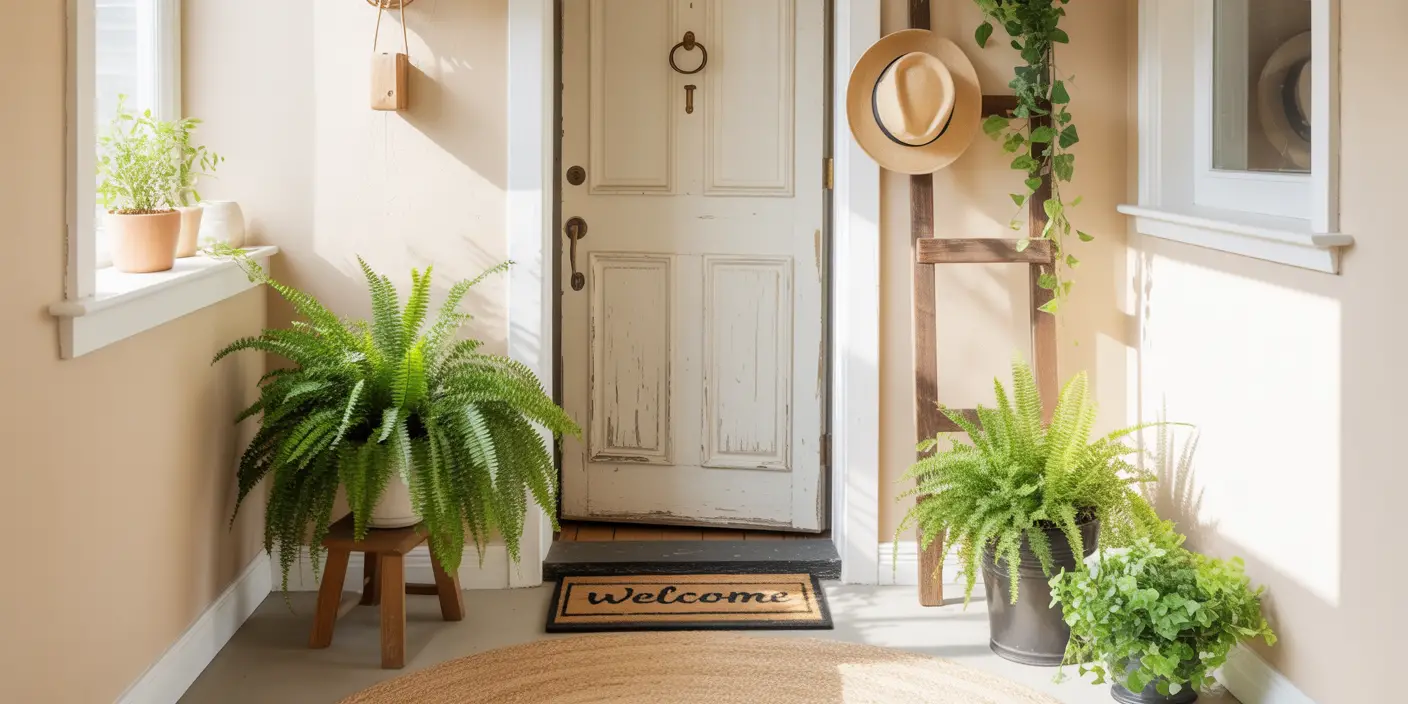
Wreaths That Don’t Scream “Craft Project”
A wreath sets the tone the minute someone steps up to your door. October gives you time to experiment without hot glue-induced panic.
Evergreen + Eucalyptus Hybrid
- Start with a grapevine wreath base.
- Add faux eucalyptus as your foundation (faux eucalyptus stems).
- Tuck in real pine or cedar clippings in November (or earlier if you want that scent).
- Finish with a velvet ribbon in a deep color like forest green or oxblood.
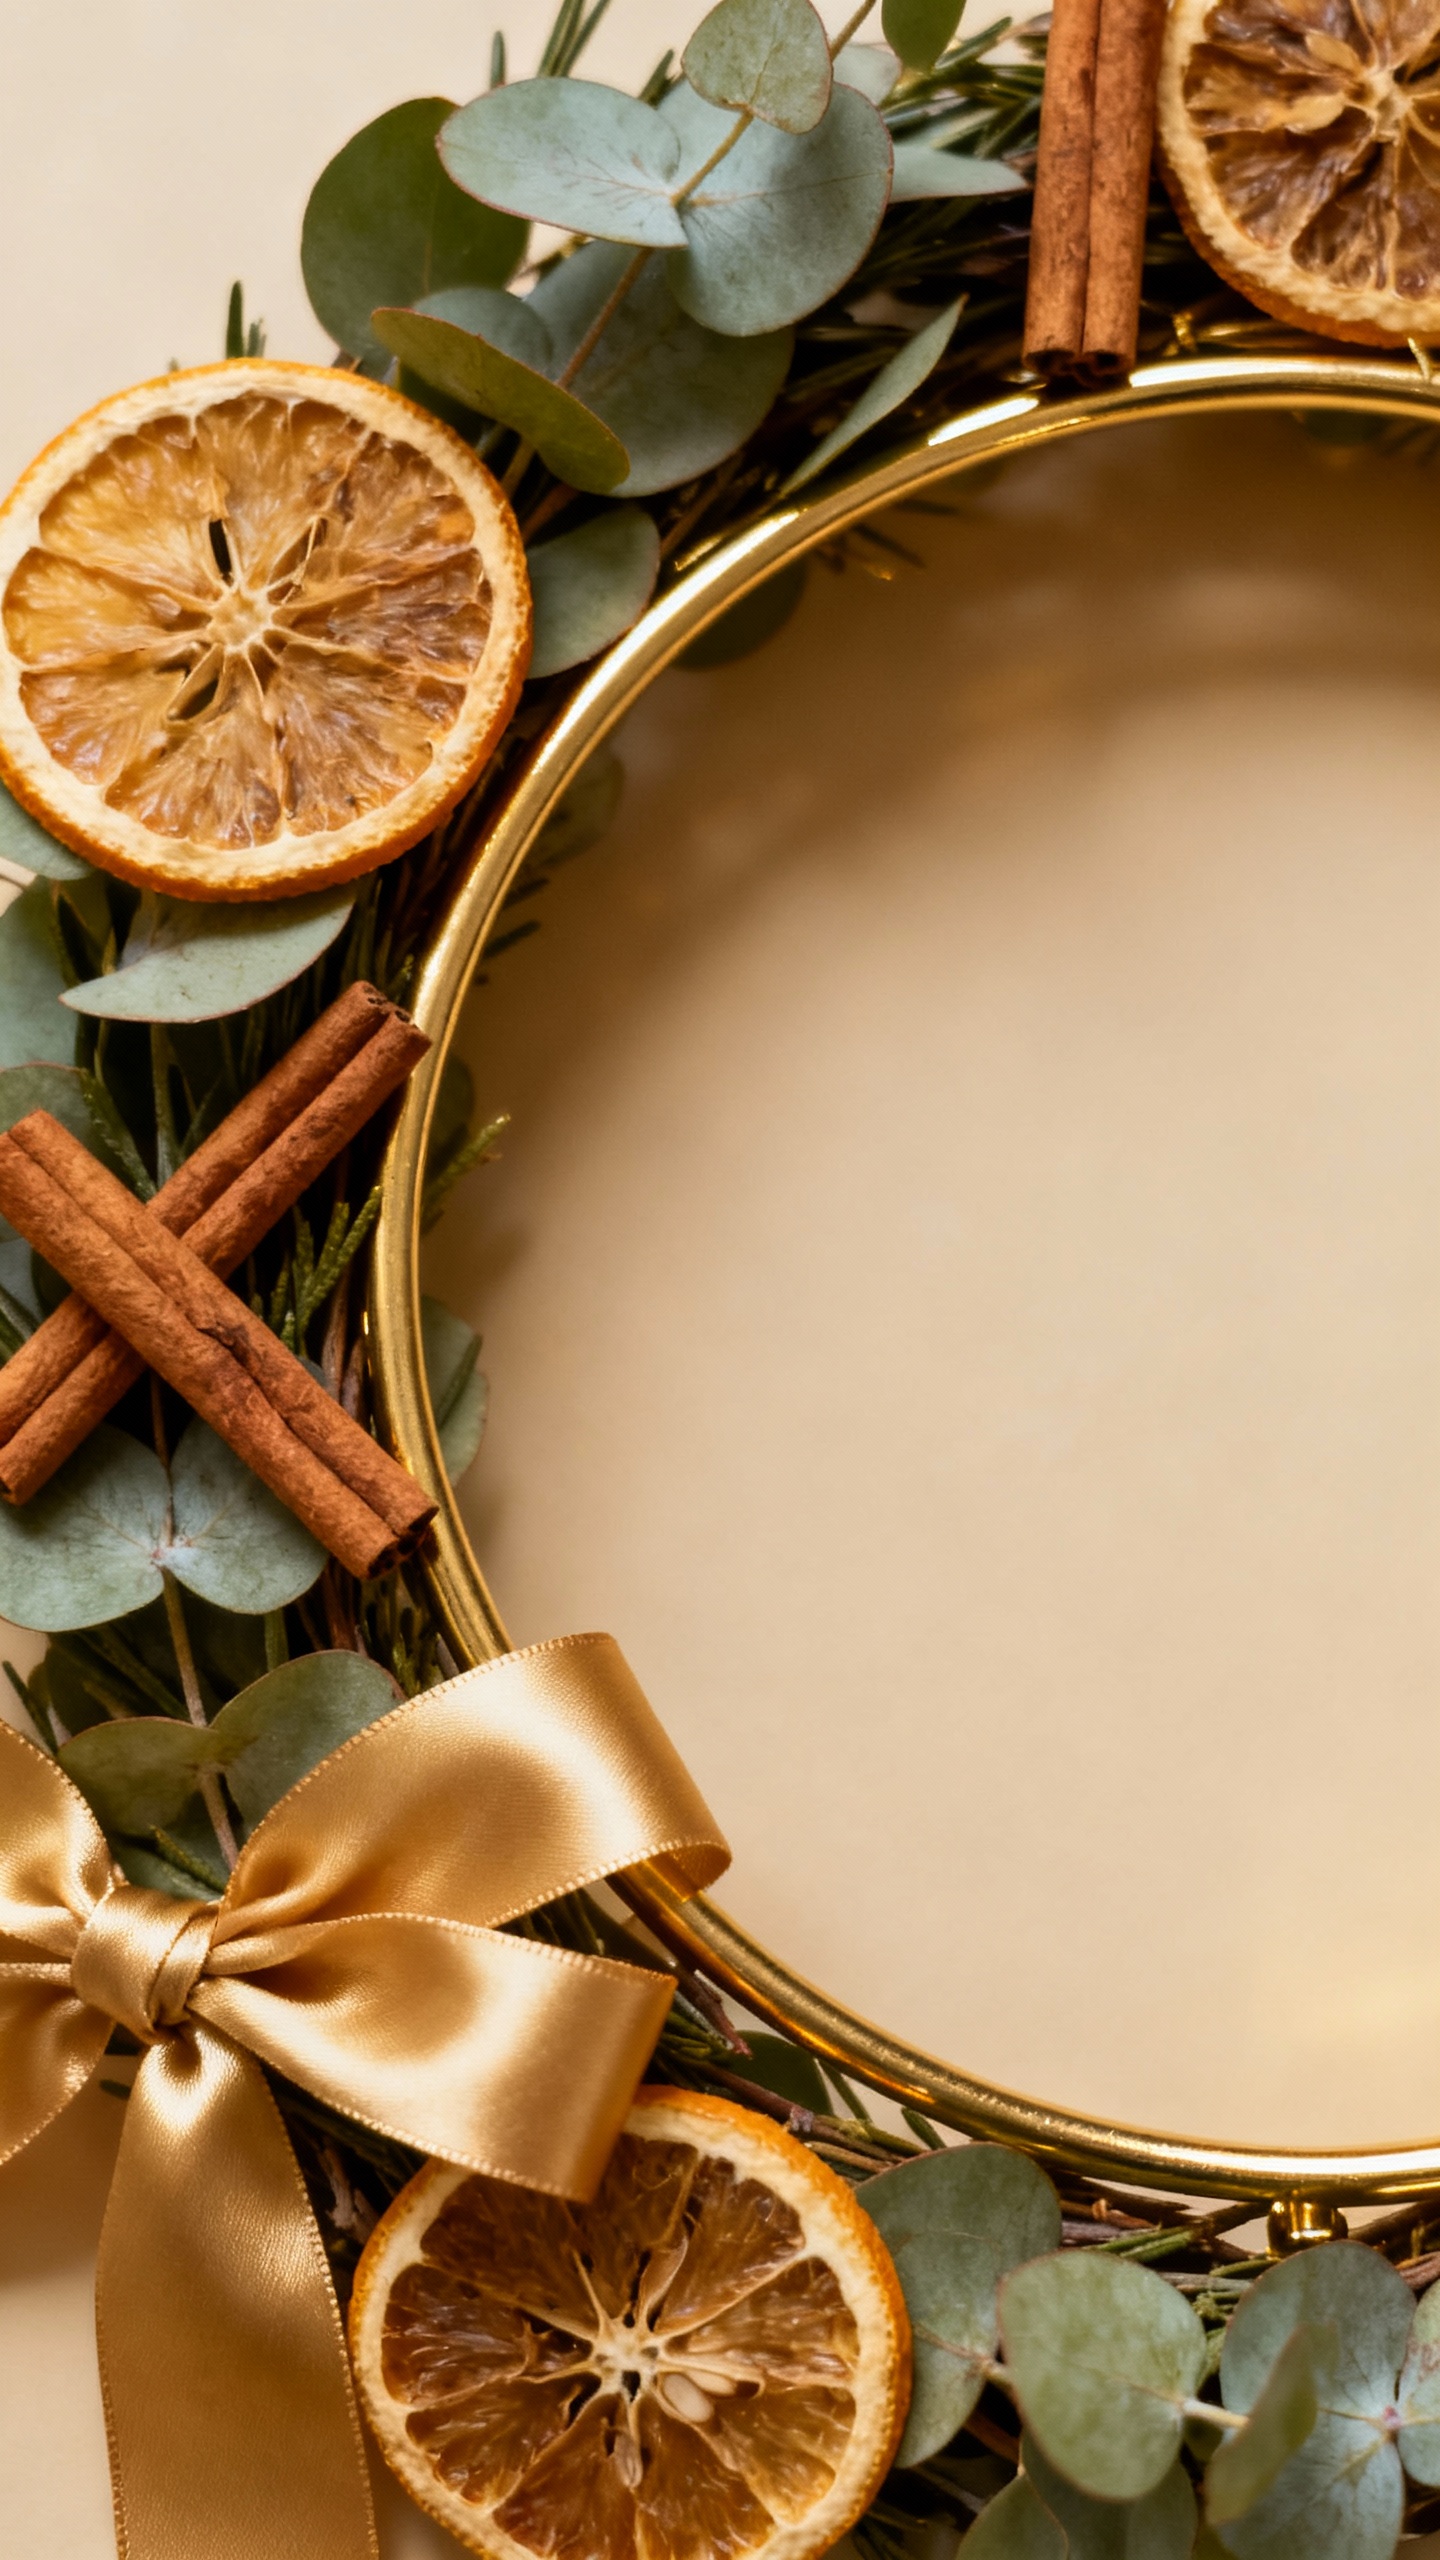
Minimalist Brass Ring Wreath
- Grab a brass hoop.
- Wrap one-third of the ring with seeded eucalyptus.
- Wire in 2-3 dried orange slices and a cinnamon stick bundle.
- Add a narrow satin ribbon tail for movement.

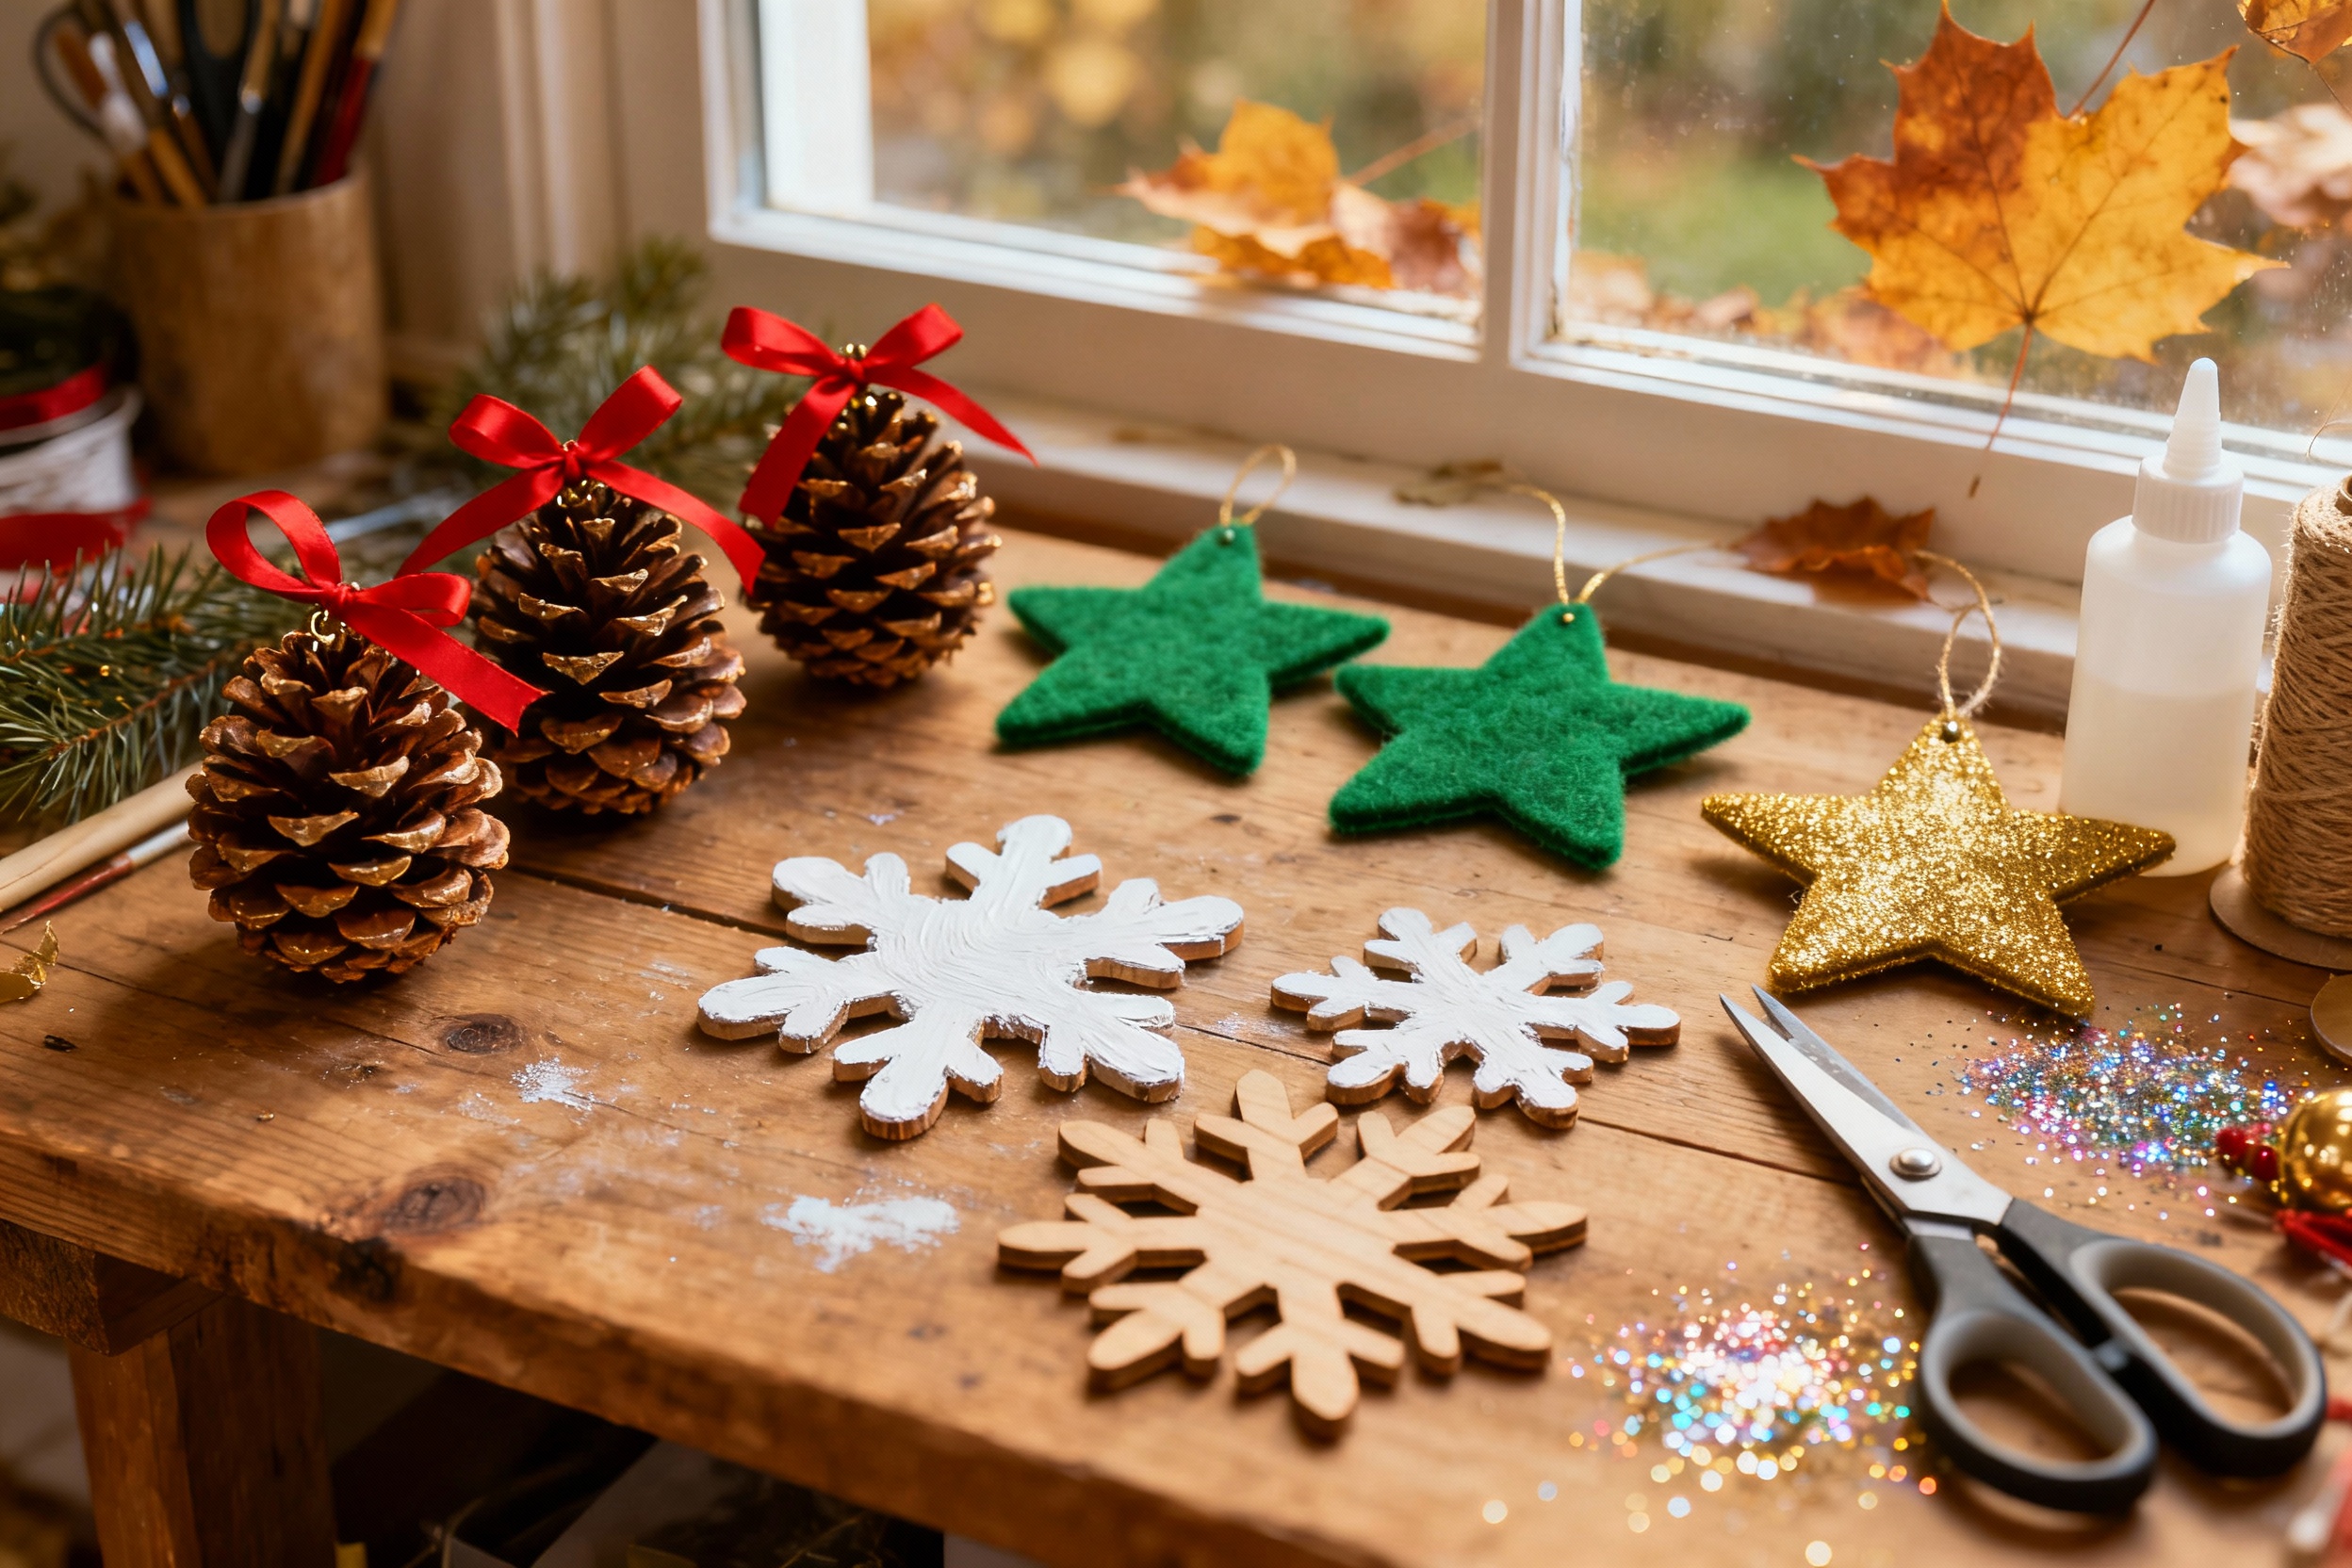
Ornaments You’ll Actually Keep
Air-Dry Clay Stamped Ornaments
- Roll air-dry clay to 1/4-inch thickness.
- Use cookie cutters for fun shapes.
- Press lace, leaves, or rubber stamps for texture.
- Punch a hole, let dry, then paint edges with gold acrylic paint.
- Thread with velvet ribbon or baker’s twine (baker’s twine).
Upcycled Sweater Baubles
- Cut circles of knit fabric from old sweaters.
- Wrap around old ornaments and secure with hot glue.
- Cover glue with a ribbon or small pinecone cluster (craft pinecones).
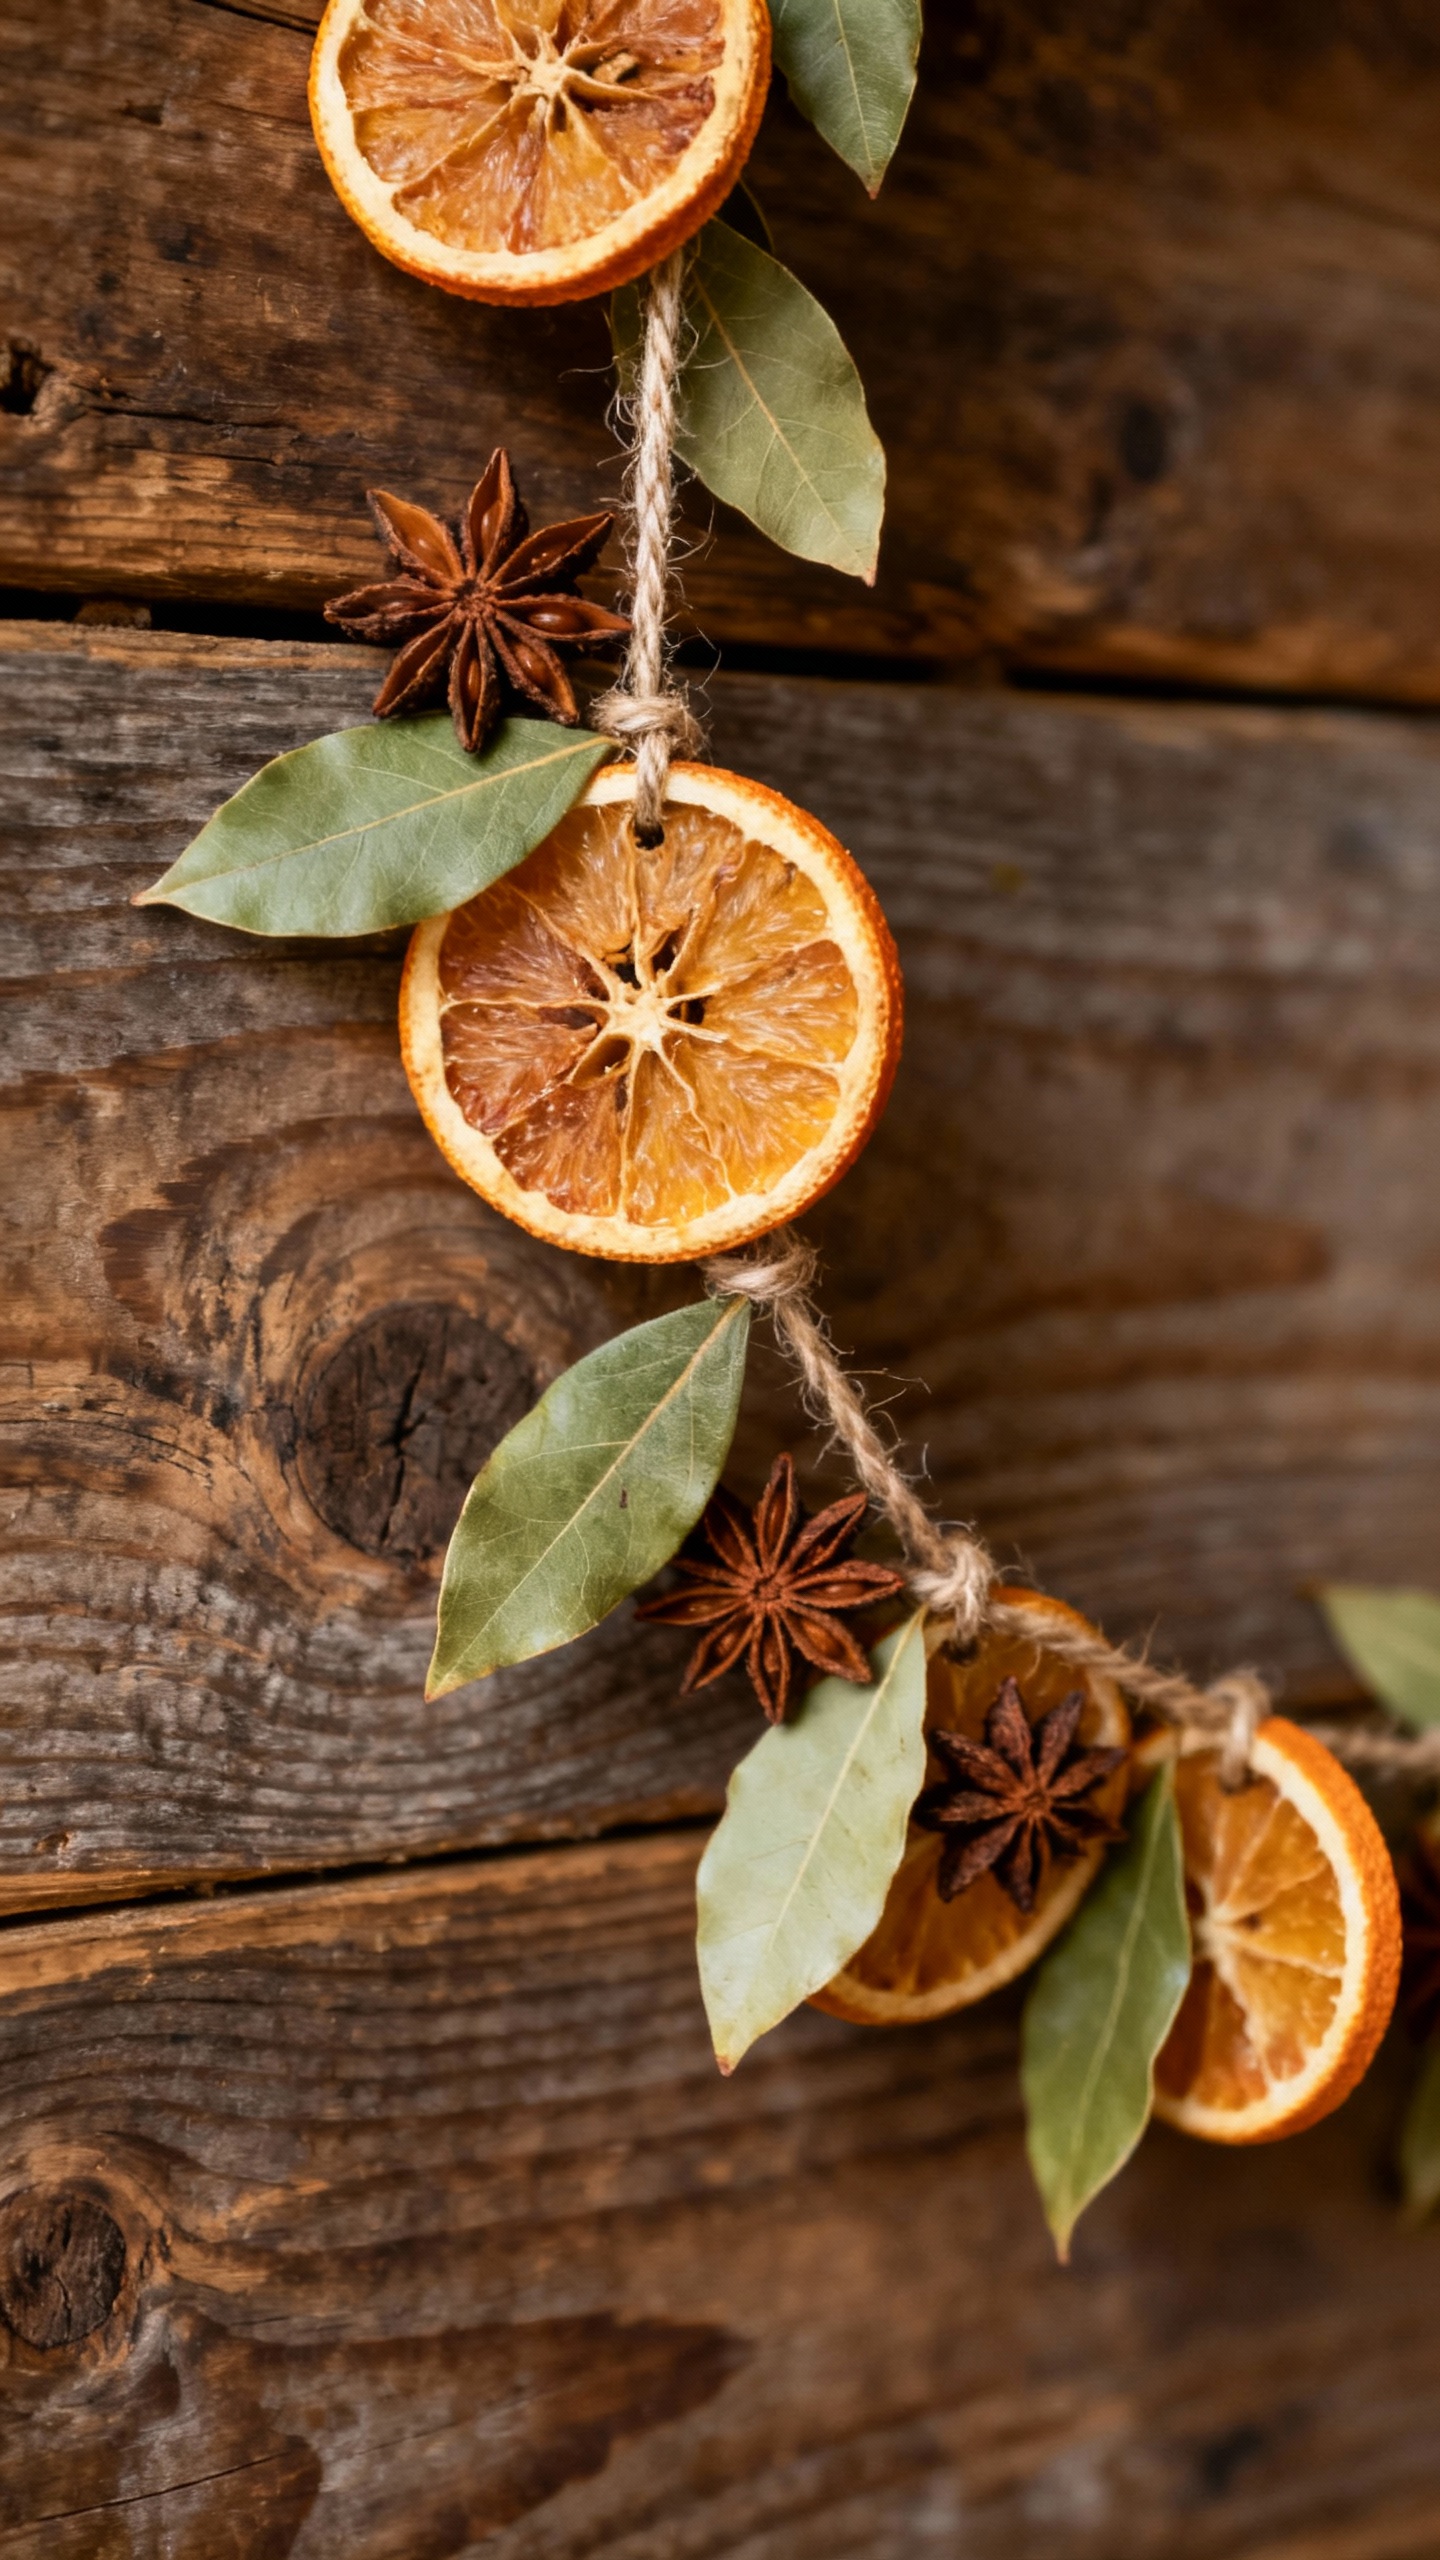
Garlands That Fill a Room Fast
Dried Orange + Bay Leaf Garland
- Slice oranges 1/4-inch thick and bake at low heat (~200°F/95°C) for 2–3 hours.
- String with a needle and twine, alternating orange slices and bay leaves (bay leaves, twine).
- Add a few star anise for that “I smell Christmas” moment (star anise).
Paper Star Chain (Scandi Vibes)
- Use thick paper or cardstock (cardstock packs).
- Fold and cut 3D stars (or buy pre-cut if you value sanity).
- Glue layers together, then attach to fishing line (fishing line) for a floating effect.
Hang it anywhere you need instant “calm winter cabin” energy.
Tablescapes You Can Build in Stages
Runner + Foraged Centerpiece
- Start with a linen runner.
- Lay a base of faux garland or eucalyptus stems.
- In November, tuck in pinecones, candlesticks, and dried fruit (candlesticks).
- Right before guests arrive, add fresh sprigs and unscented candles (unscented pillar candles).
Place Cards That Double as Favors
- Mini kraft envelopes (kraft envelopes) + wax seals (wax seal kit) with guests’ initials.
- Inside: a tea bag, a hot cocoa sachet, or a handwritten note.
- Tie to a sprig of rosemary with twine.
It’s thoughtful without being extra. Okay, a tiny bit extra—but in a good way.
Windows, Mantels, and Little Corners
Frosted Jar Luminaries
- Clean old jars, add a coat of matte spray frost or Epsom salt + Mod Podge (Mod Podge).
- Wrap with twine and a tiny jingle bell (jingle bells).
- Use LED tea lights (LED tea lights) for a soft glow.
Framed Wrapping Paper Art
- Buy one roll of beautiful wrapping paper and frame sections like art.
Staircase Ribbon + Bell Swags
- Cut long lengths of ribbon in two widths (decor ribbon).
- Tie in loose bows on every third baluster.
- Add a brass bell cluster in the center of each bow.
DIY Scents That Don’t Overwhelm
DIY Scents That Don’t Overwhelm
Simmer Pot Mix
- Dry orange peels, apple slices, and cinnamon sticks in October.
- Store in jars; when ready, simmer with water and a few cloves (cinnamon sticks, cloves).
Clove-Studded Oranges (Pomanders)
- Press whole cloves into oranges.
- Roll in a blend of cinnamon and orris root powder (orris root powder) for longevity.
Project Calendar: What to Make When
Let’s keep this stress-free. Here’s a simple plan so you don’t end up crafting at midnight in December.
Project Calendar: What to Make When
- Week 1 (early Oct): Choose palette, buy supplies, start clay ornaments.
- Week 2: Make paper stars, frame wrapping paper prints, start pomanders.
- Week 3: Assemble a wreath, prep jar luminaries, dry orange slices.
- Week 4: Build garlands, ribbon/bell swags, place card favors.
- November: Refresh greenery, fine-tune tablescape, bask in your competence.
FYI: Batch tasks. Paint all ornaments in one go.
Cut all ribbons at once. Your brain loves fewer context switches.
FAQ
How do I keep fresh greenery from drying out too fast?
Hydrate stems overnight before you build, mist lightly every few days, and keep arrangements away from heat sources. Mix faux with fresh so the structure stays even if the fresh dries a bit.
You get longevity without the droop.
What’s the cheapest project with the biggest impact?
Dried orange garlands win. They cost a couple bucks, smell amazing, and fill space quickly. Pair them with paper stars and you’ll look wildly put-together.
Can I make these kid-friendly?
Absolutely.
Let kids stamp the clay ornaments, thread paper chains, or add stickers to gift tags. Keep them away from hot glue and sharp tools, obviously. Give them ownership over a small tree or a bedroom garland—they’ll be obsessed.
How do I store these so they last?
Use clear bins with labels, wrap fragile items in tissue, and keep anything scented in airtight containers.
Store faux greenery flat to avoid bent branches. Toss a few silica gel packs in each bin to fight moisture.
What if I don’t have a craft stash?
Start with multipurpose basics: hot glue gun, floral wire, twine, neutral ribbon, craft scissors, and a couple acrylic paints (white and gold cover tons of ground). Buy materials per project so you don’t end up with a “miscellaneous” bin of regret.
How do I avoid a cluttered look?
Pick 2–3 materials and repeat them: velvet ribbon + eucalyptus + gold accents, for example.
Keep surfaces edited and let a few pieces shine. Negative space = intentional style.
Wrap-Up: Start Early, Enjoy More
October crafting means December chilling. Custom wreaths, ornaments, and garlands ready before the chaos hits. Pick a palette, batch your projects, and enjoy a curated, stress-free holiday.