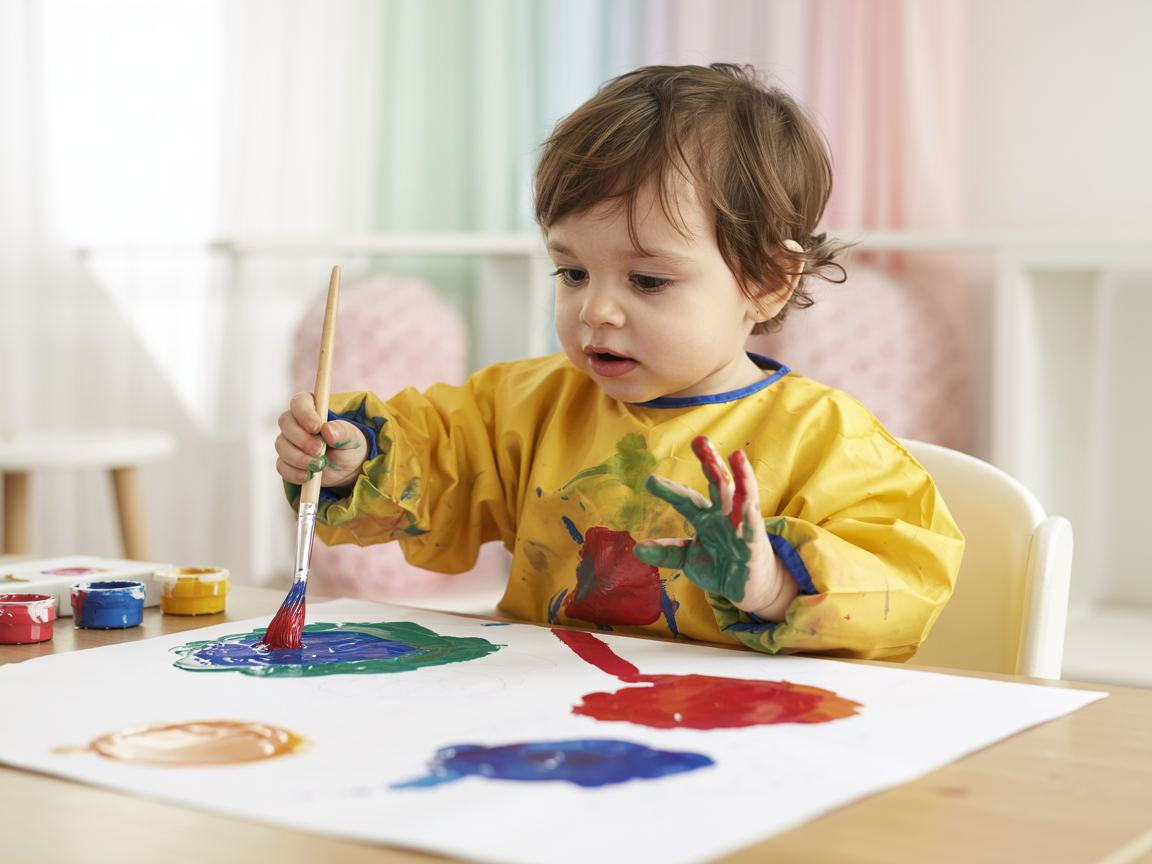
Hi Loves, I’m Rockell— a busy, crafty mama of two lively little girls who love anything artsy, squishy, and messy (can you relate?). On rainy afternoons or quiet weekends, our kitchen turns into a full-blown art studio, and today I’m sharing one of our all-time favorite DIY projects: Puffy Paint!
This stuff is a total game-changer. It’s easy to make, budget-friendly, and gives your kids (and you!) that ooey-gooey creative fun without the need to run to the store. We’ve tried so many versions over the years, and I’m excited to share our top puffy paint recipes with you — whether you’re in the mood for microwave magic or shaving cream science.
Before we get into it, you should watch the video below, which shows how to make puffy paint in detail.
Now let’s get started making your puff paint fun with your little cuties.

🖌️ What is Puffy Paint, Anyway?
Puffy paint is a special kind of paint that dries with a soft, raised texture. It’s different from regular paint because it actually pops up off the paper! You can use it for art projects, cards, homemade wrapping paper, or just pure fun. Plus, it’s perfect for sensory play.
👩👧👧 Why We Love It
As a mom, I’m always looking for creative outlets that don’t involve screens, and puffy paint is a favorite for my girls. It’s just as fun to make as it is to use, and it keeps their little hands and imaginations busy for hours. Bonus: I get to sneak in a little kitchen science lesson while we’re at it!
Here are our favorite ways to make puffy paint at home:
Save this pin for later!

📌 Method #1: Microwave Puffy Paint (Classic + Magical!)
This is the most magical method — your artwork literally puffs up in the microwave! My girls think it’s like a science experiment and art project rolled into one.
Ingredients:
- 1 tablespoon self-rising flour
- 1 tablespoon salt
- A little bit of water (about 1–2 teaspoons)
- Food coloring or washable paint
- Cardstock paper or thick paper
- Cotton swabs or paintbrushes
- Microwave
Instructions:
- In a small bowl, mix the flour and salt.
- Slowly add water until the mixture becomes a thick paste.
- Add a few drops of food coloring or washable paint and mix well.
- Use cotton swabs or paintbrushes to create your artwork on cardstock paper.
- Pop the paper into the microwave for about 30 seconds (watch it puff up!).

🧼 Method #2: Shaving Cream Puffy Paint (Fluffy and Fun!)
This one is SO satisfying. The texture is creamy and soft, and the colors are super vibrant.
Ingredients:
- 1 part white glue (like Elmer’s)
- 1 part shaving cream
- Food coloring or liquid watercolors
- Zip-top bag (optional for mess-free mixing)
Instructions:
- In a bowl or zip-top bag, mix equal parts glue and shaving cream.
- Add food coloring and mix until it’s a fluffy, colorful cloud.
- Use brushes, cotton swabs, or even your fingers to paint on paper!
- Let it dry overnight — it will stay fluffy!

🍦 Method #3: Puffy Paint with Whipped Soap (For Toddlers or Sensory Play)
This one’s gentle and safe for younger kiddos who love to explore textures with their hands.
Ingredients:
- Foaming baby soap or whipped soap
- Cornstarch (to thicken)
- Food coloring
- Optional: a little flour or glue for better adherence
Instructions:
- Mix the soap and a bit of cornstarch until it’s thick but fluffy.
- Add food coloring.
- Use it in muffin tins or squeeze bottles to “paint”!

🌟 Tips from Our Kitchen Table:
- Use squeeze bottles or old condiment bottles for extra fun and fine motor skills practice.
- Store shaving cream puffy paint in the fridge for a cool texture and extended play.
- Add glitter if you want some sparkle (we love sparkle over here ✨).
- Use black paper for neon colors — it pops!
🖼️ Try It With Other DIY Crafts!
If your little artists love puffy paint, they’ll probably also go wild for our other hands-on craft projects:
- Check out these 20 Fun Clay Projects for Kids to Create — perfect for when you want to switch from painting to sculpting.
- Or whip up some of these 15 Fun and Creative Playdough Recipes for Family Craft Time. These are especially great for little hands and rainy-day imagination sessions!
🧡 Final Thoughts
Being a mom of two girls means our house is always filled with glitter, giggles, and unfinished art projects on every surface. And I wouldn’t have it any other way! DIY puffy paint is one of those simple joys that brings us all together — even when life is chaotic. I hope you and your kiddos love these recipes as much as we do!
If you try one of these, tag me or leave a comment below — I’d love to see what your family creates!
With paint-splattered love,
Rockell 💕
Pin for later!

Printable Recipe Card
Want just the essential recipe details without scrolling through the article? Get our printable recipe card with just the ingredients and instructions.