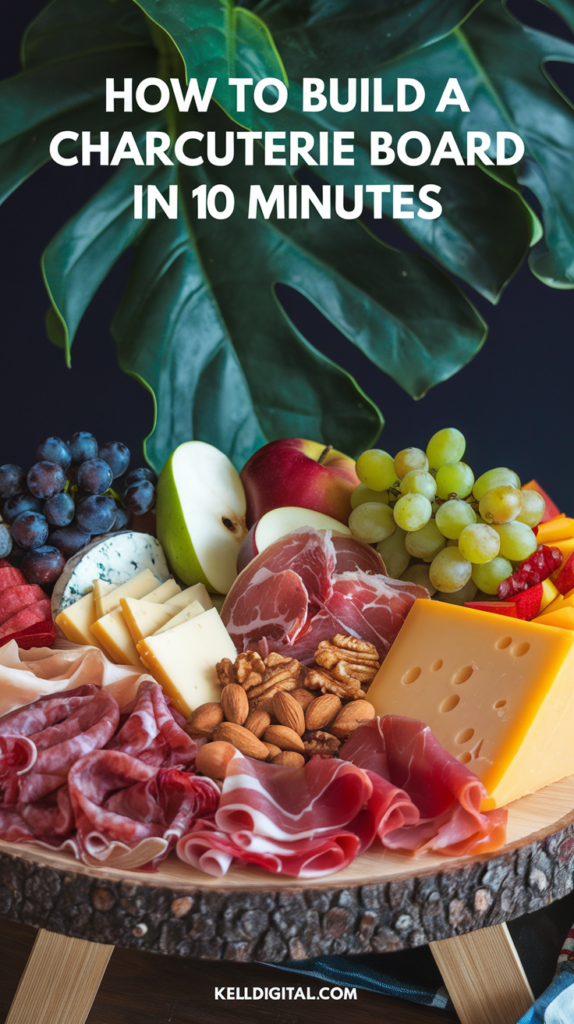
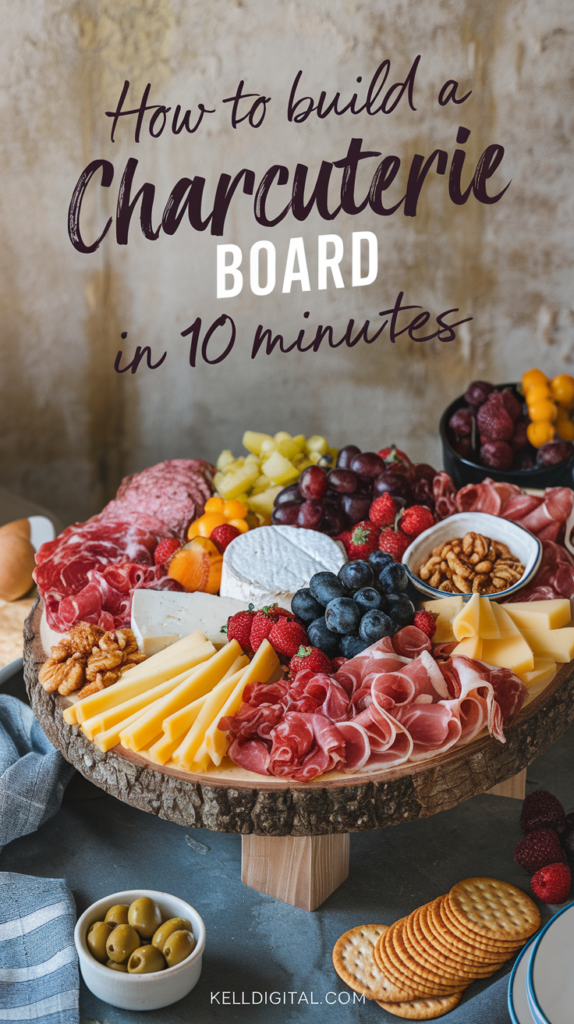
How to Build a Charcuterie Board: Easy Tips for Busy Moms
If you’re anything like me—a busy mom juggling schedules, snacks, and everything in between—you know hosting can sometimes feel like a chore. That’s why I’m here to share my go-to secret weapon: charcuterie boards.
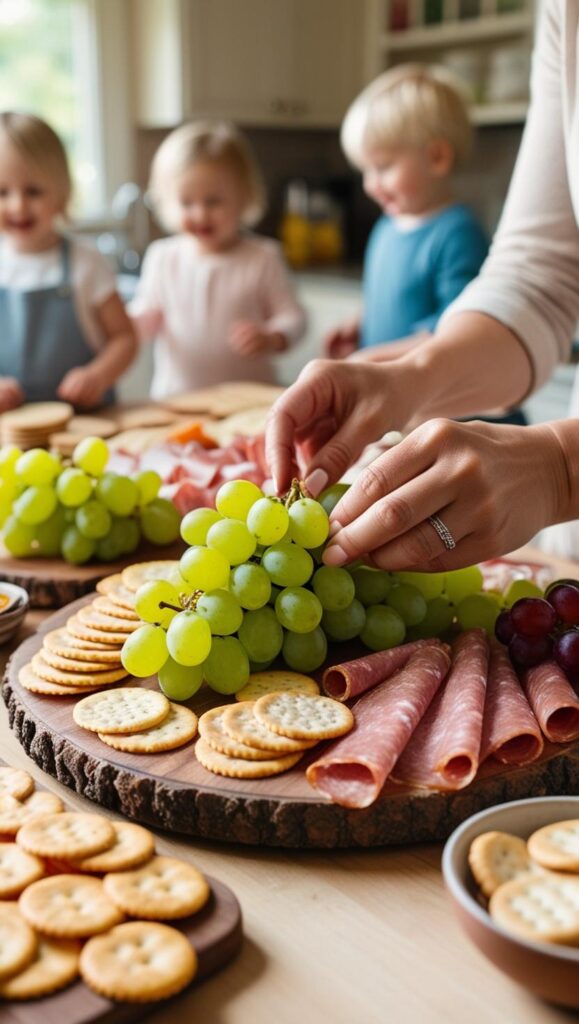
They’re easy to make, completely customizable, and perfect for any occasion, from family movie nights to hosting friends. And the best part? It’s more assembling than cooking, which is exactly what we need when time is tight. Let’s dive into everything you need to know to create a charcuterie board that’s as delicious as it is beautiful.
Step 1: Choose Your Board
Before we even get to the food, let’s start with the foundation: your board.
- What to Use: You can use a wooden cutting board, slate, a large serving platter, or even a baking sheet lined with parchment paper. For a rustic vibe, I love using wooden boards.
- Size: The size of the board depends on the number of people you’re serving.
- Small Gatherings (2-4 people): Use a 10–12-inch board.
- Larger Groups (6+ people): Opt for a larger board, around 18 inches or more.
- Pro Tip: Don’t worry if your board isn’t big enough—overflow onto smaller bowls or plates for dips, spreads, or extras.
Step 2: Gather Your Ingredients
The beauty of charcuterie boards is their flexibility. You can mix and match ingredients based on personal preferences, dietary needs, and what you already have in your pantry. Here’s a breakdown of the essentials:
1. Cheeses
Aim for a variety of textures and flavors. A good rule of thumb is to include at least three types:
- Soft: Brie, Camembert, goat cheese.
- Hard: Aged cheddar, Parmesan, Manchego.
- Semi-Soft: Havarti, Gouda, Fontina.
- Crumbly: Blue cheese, Feta, or Gorgonzola.
Tips for Choosing Cheese:
- For a kid-friendly board, stick to mild cheeses like mozzarella or mild cheddar.
- Let the cheese sit out for 30-45 minutes before serving for optimal flavor and texture.
2. Meats
Go for cured meats with a mix of textures. Here are some popular options:
- Salami (regular, spicy, or flavored).
- Prosciutto (thinly sliced for easy rolling).
- Pepperoni (great for kids!).
- Chorizo or Soppressata for a bolder flavor.
Pro Tips:
- Fold salami into quarters or roll it to add height and dimension to the board.
- Consider a vegetarian option with marinated tofu slices or grilled vegetables.
3. Crackers and Bread
You’ll want a mix of textures to pair with your cheeses and spreads:
- Buttery crackers, like Ritz.
- Whole grain crackers for a hearty option.
- Crostini or baguette slices for a crunchy base.
- Gluten-free crackers, if needed.
Tip:
Place crackers in small stacks or fan them out for a clean, organized look.
4. Fresh Fruits
Fruits add color, sweetness, and balance to the savory flavors:
- Grapes (both red and green for variety).
- Apple slices (brush with lemon juice to prevent browning).
- Fresh berries like strawberries, blueberries, or raspberries.
- Sliced pears for a touch of elegance.
5. Dried Fruits and Nuts
- Dried apricots, cranberries, or figs add chewy texture.
- Almonds, cashews, or walnuts offer crunch.
- Use roasted and lightly salted varieties for more flavor.
6. Pickles and Olives
These add tangy and briny flavors to the board:
- Cornichons or dill pickles.
- Green or Kalamata olives.
- Pickled vegetables like carrots or cauliflower for something unique.
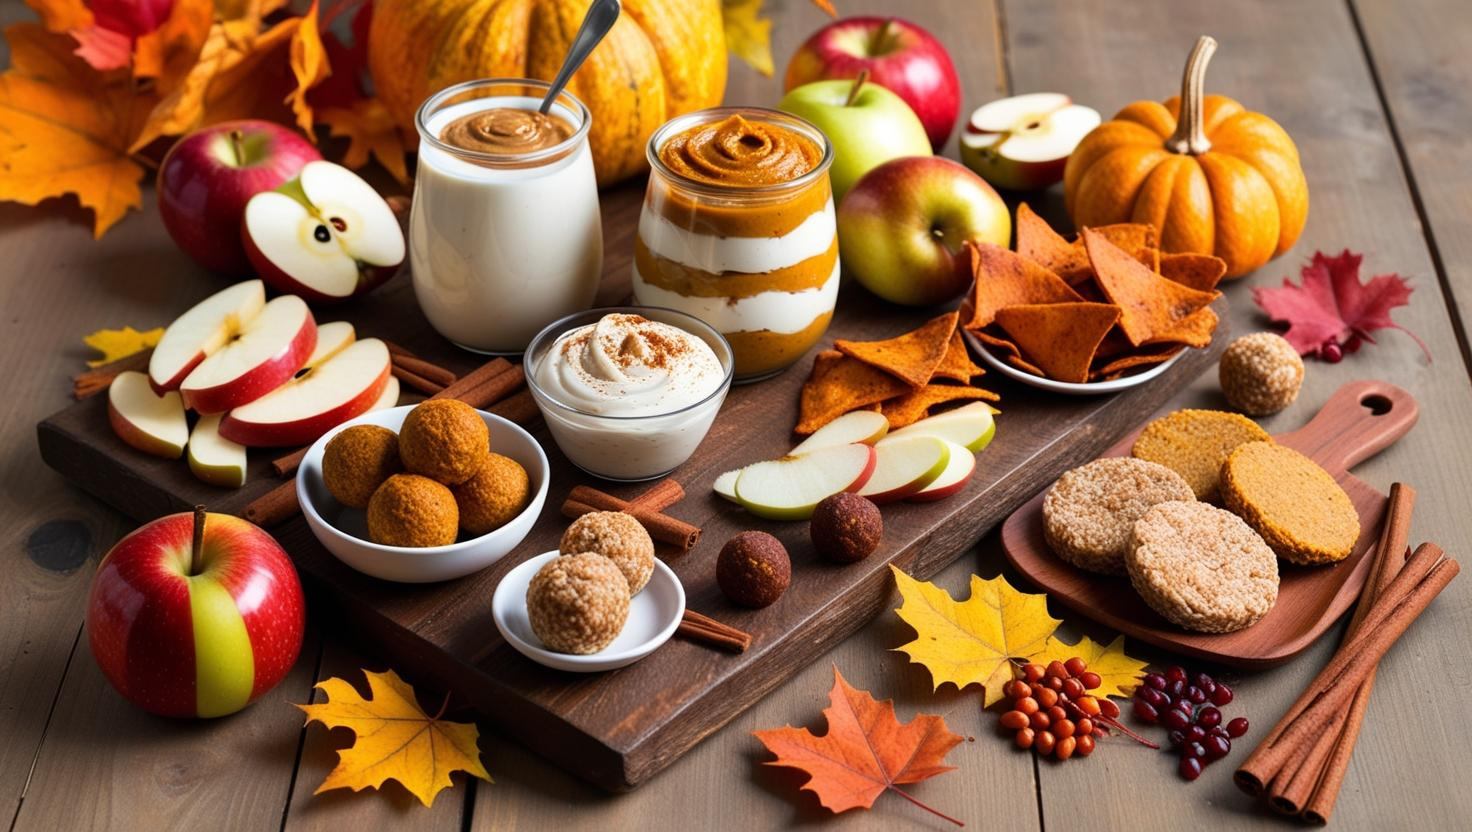
7. Sweet Additions
Add a touch of sweetness with:
- Dark chocolate squares or truffles.
- Yogurt-covered pretzels.
- Candied nuts.
8. Spreads and Dips
No charcuterie board is complete without spreads:
- Honey (perfect for drizzling over Brie).
- Fig or apricot jam.
- Grainy mustard or spicy mustard.
- Hummus or whipped feta for dipping.
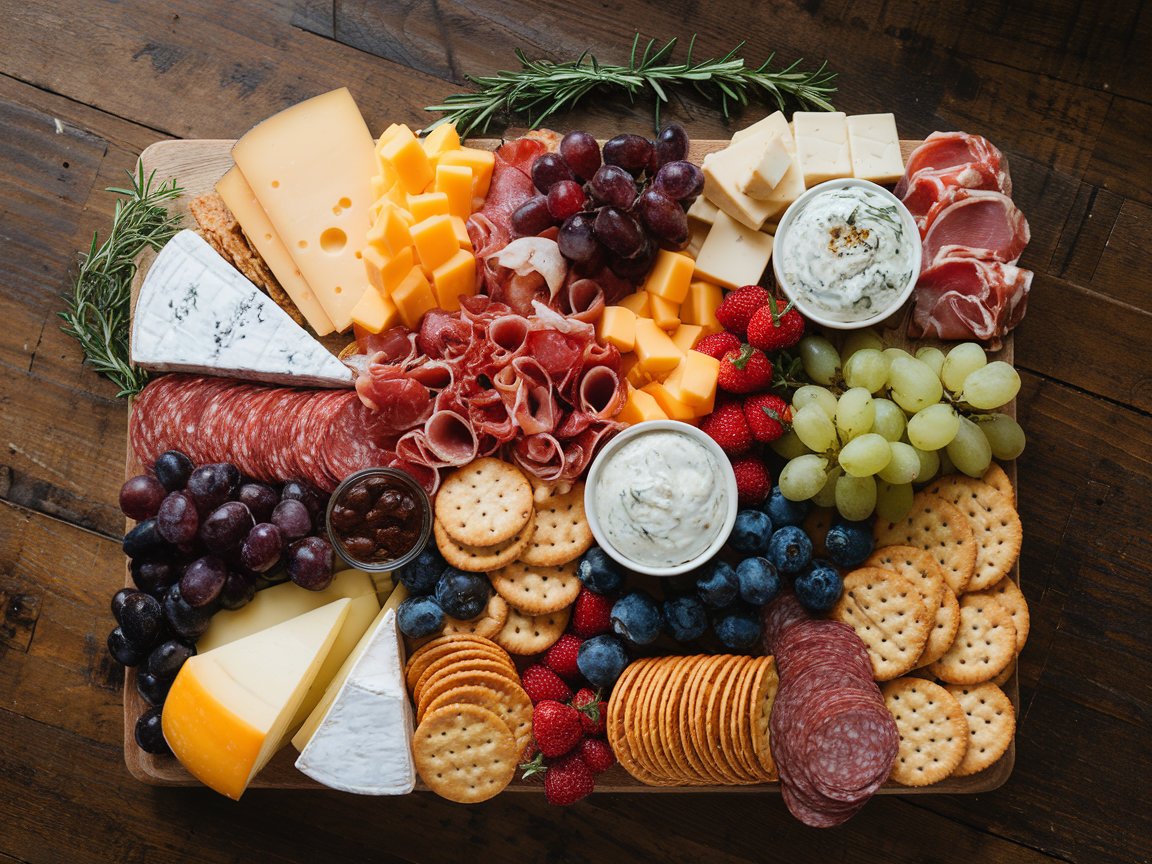
Step 3: Assemble Your Board
Here’s where the fun begins—putting it all together!
1. Start with the Anchors
Place larger items like cheese blocks, bowls of dips, and spreads on the board first. These act as your “anchors” and make it easier to arrange the smaller items around them.
2. Add Meats
Fold or roll your meats and arrange them in sections. For a fancier touch, create salami “roses” by folding slices around a small glass.
3. Crackers and Bread
Tuck crackers and breadsticks into the spaces between cheeses and meats.
4. Fill in with Fruits and Nuts
Scatter fresh fruits, dried fruits, and nuts throughout the board. Use them to fill any gaps and add pops of color.
5. Final Touches
- Add herbs like rosemary or thyme for a polished look.
- Include serving utensils like spreaders, tongs, or toothpicks.
Step 4: Serve and Enjoy
Once your board is assembled, it’s ready to serve!
- For casual settings: Place the board in the center of the table and let everyone help themselves.
- For fancier occasions: Set out small plates and napkins for guests to serve themselves.

Portion Guide
Here’s a quick reference to help you plan how much food to prepare:
- 2-4 people: 3-4 cheeses, 2 meats, and a handful of extras.
- 5-8 people: 4-5 cheeses, 3 meats, and a wider variety of extras.
- 9+ people: Go big! Add more of everything and consider having a second board for easier access.
Clean-Up Made Simple
- Use parchment paper or a silicone mat on the board for easy cleaning.
- Have storage containers ready to pack leftovers.
- If anything gets sticky (like honey or jam), a warm, soapy cloth works wonders.
I hope this guide inspires you to try making your own charcuterie board! It’s such a fun and easy way to impress your family and friends without spending hours in the kitchen. If you give this a try, I’d love to see how your board turns out!
Let’s make hosting simple, beautiful, and stress-free—because we moms deserve that, right? 💛