Can I just tell you how excited I am to share this with you? It’s that magical time of year again when the leaves start changing, pumpkin spice everything appears in stores, and we’re all desperately trying to make our homes feel cozy without spending our entire grocery budget on decorations. Sound familiar?
I’ve been there – standing in the seasonal aisle at Target, mentally calculating whether I can justify spending $40 on a single fall wreath while my toddler pulls everything within reach off the shelves. That’s exactly why I fell in love with creating gorgeous fall wreaths using nothing but dollar store finds!
Last weekend, while my kids were finally occupied with their tablets (don’t judge – we all have those moments!), I decided to tackle this project. And let me tell you, the results were so stunning that even my mother-in-law complimented it. Win!
Why Dollar Store Fall Wreaths Are Perfect for Busy Moms
Before we dive into the how-to, let me tell you why this approach is absolutely perfect for us busy moms. First, the budget-friendly aspect is obvious – we’re talking about creating something beautiful for under $10 total. But there’s so much more to love about this approach.
The supplies are incredibly accessible. You don’t need to hunt down specialty craft stores or wait for online orders. Your local dollar store has everything you need, and you can grab supplies during your regular errands. Plus, if little hands “help” a bit too enthusiastically and something breaks, you’re not crying over expensive materials.
The time commitment is realistic for our actual lives. We’re not talking about a weekend-long project that requires uninterrupted focus. This is something you can realistically tackle during naptime, after bedtime, or even while the kids are watching a movie nearby.
And here’s my favorite part – it’s forgiving! If you mess up or want to change something, you haven’t invested a fortune. Plus, the rustic, handmade look we’re going for actually benefits from those little imperfections that make it uniquely yours.
Essential Dollar Store Supplies You’ll Need
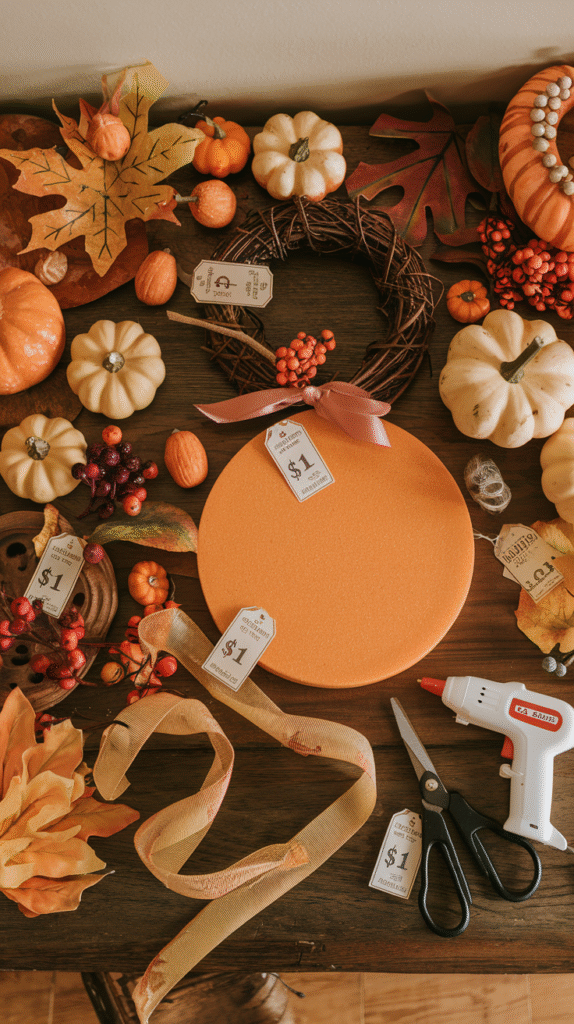
Alright, let’s talk shopping list. I always recommend making a quick trip to your dollar store with this list in hand. Trust me, it’s easy to get distracted by all the adorable seasonal items (those mini ceramic pumpkins are calling your name, aren’t they?), but staying focused will keep you on budget and on track.
Your Essential Shopping List:
- One foam wreath base (usually in the craft section)
- 2-3 packages of artificial fall leaves in varying colors
- 1-2 packages of artificial berries or small fall fruits
- 2-3 mini artificial pumpkins or gourds
- Fall-colored ribbon (about 2-3 feet should do)
- Small artificial sunflower or fall flowers (optional but gorgeous)
- Craft glue or hot glue gun with glue sticks
Tools You’ll Need from Home:
- Scissors
- Wire cutters (if your ribbon has wire)
- Small bowl for organizing small pieces
- Towel or newspaper to protect your work surface
The total should come to around $8-12, depending on your local dollar store’s selection. I’ve found that different stores sometimes have slightly different seasonal inventory, so if you don’t find everything at one location, don’t stress – creativity is part of the fun!
Step-by-Step Instructions: Creating Your Masterpiece
Now for the fun part! I like to set up my workspace in the kitchen where I can easily clean up any glue drips, and I can keep an eye on the kids if they’re playing nearby. Pour yourself a warm beverage – this is your crafting time, mama!
Step 1: Prepare Your Wreath Base Start by examining your foam wreath base. Most dollar store versions are perfectly fine to use as-is, but sometimes they’re a bit dusty from storage. Give it a quick wipe-down if needed. I like to place it on a towel or newspaper to catch any foam pieces that might break off.
Step 2: Plan Your Color Story Before you start gluing anything down, play around with your materials. I like to loosely arrange leaves around the wreath to see how the colors flow together. This is where your mom intuition comes in handy – you know what looks good! Generally, I aim for a mix of oranges, reds, and yellows with some green mixed in for depth.
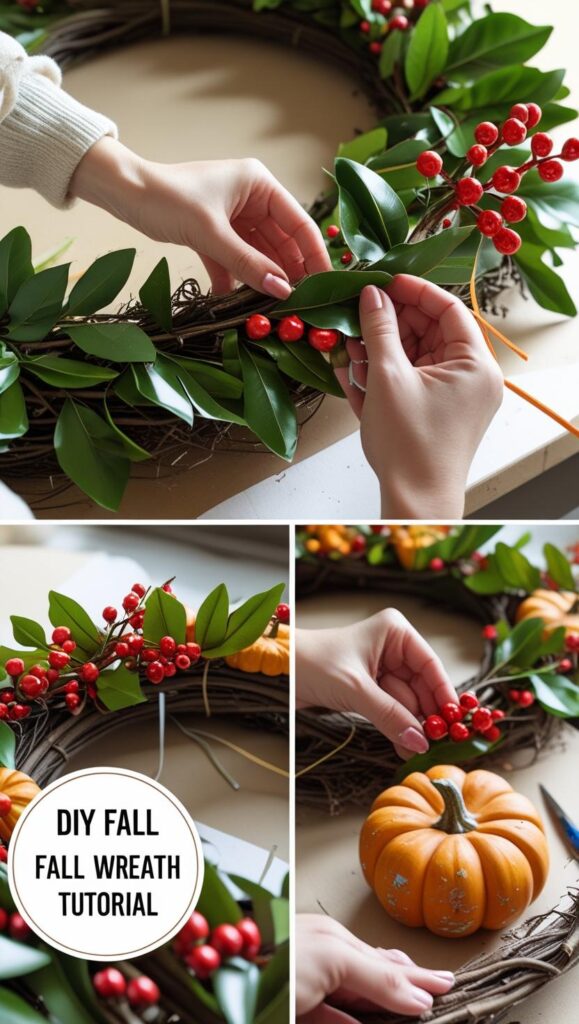
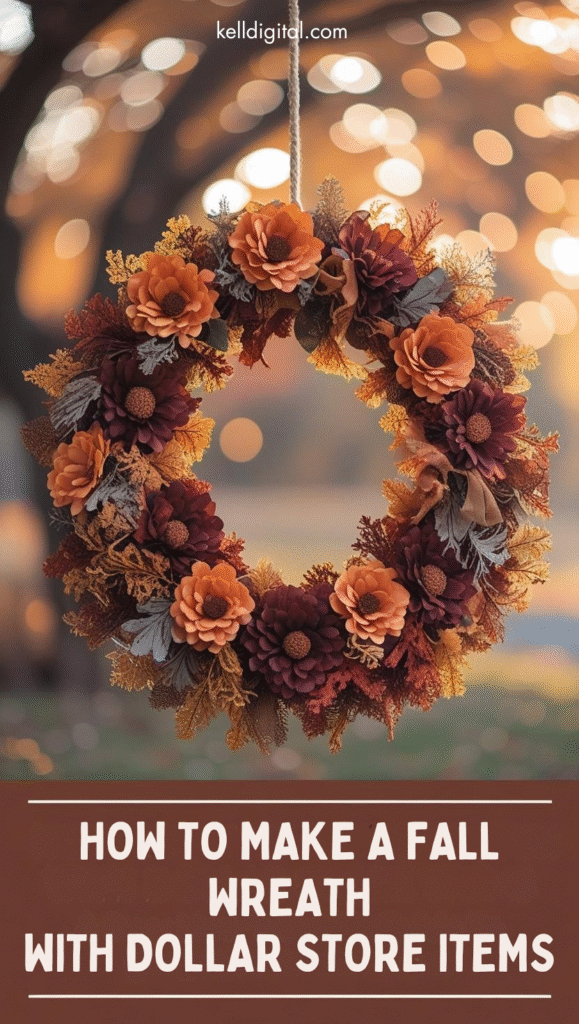
Step 3: Attach the Base Layer of Leaves Starting with your largest leaves, begin attaching them to the foam base. I work in sections, doing about a quarter of the wreath at a time. Apply a small dot of glue to the back of each leaf and press firmly onto the foam. Don’t worry about perfect placement – we’re going for that natural, organic look that screams “expensive boutique wreath” but whispers “clever mom made this.”
Overlap your leaves slightly and vary the directions they’re pointing. Some should curve inward toward the center, others outward. This creates that lovely dimensional look that makes people think you spent way more than you actually did.
Step 4: Build Up the Layers Once your base layer is dry (give it about 10-15 minutes), start adding your second layer of leaves. Use smaller leaves or different colored ones to create depth. This is where you can get really creative – maybe add some leaves that are slightly curled or positioned at different angles.
Step 5: Add the Berries and Small Elements Now comes my favorite part – adding those gorgeous little details that make your wreath special. Take your artificial berries and arrange them in small clusters around the wreath. I like to create an odd number of clusters (three or five) because it’s more visually pleasing. Glue them securely, but don’t worry if a few berries fall off later – you can always reattach them.
Step 6: Position Your Feature Elements Those mini pumpkins and gourds are going to be your wreath’s showstoppers. I typically place them at the bottom of the wreath, slightly off-center. This creates a nice focal point without making the wreath feel bottom-heavy. If you found small sunflowers or other fall flowers, now’s the time to add them too.
Step 7: Create and Attach Your Bow The ribbon is what really elevates your wreath from “cute craft project” to “stunning fall decor.” Cut about 18 inches of ribbon and create a simple bow. Don’t stress about making it perfect – that slightly imperfect, handmade look is part of the charm. Attach it near your pumpkins or at the top of the wreath, whatever feels right to you.
Pro Tips for Wreath Success
After making dozens of these wreaths (yes, I got a bit obsessed and made them as gifts!), I’ve learned some tricks that make the process smoother and the results more professional-looking.
Work in Good Light: Natural light is your best friend when choosing colors and seeing how elements work together. I always do my wreath projects during the day when I can see the true colors of my materials.
Less is More (Usually): It’s tempting to use every single beautiful element you found, but sometimes restraint creates more impact. Step back periodically and assess whether your wreath feels balanced or overcrowded.
Secure Everything Well: There’s nothing more frustrating than having your beautiful wreath fall apart after a few weeks. Be generous with the glue, and give each element time to dry properly before moving on to the next step.
Consider Your Hanging Location: Think about where you’ll display your wreath while you’re making it. If it’s going on a front door that gets afternoon sun, you might want to avoid materials that could fade quickly.
Save Some Materials: Keep a few extra leaves and berries aside for touch-ups later. After a few weeks of display, you might want to refresh a few elements, and having matching materials on hand makes this easy.
Styling Your Finished Wreath
Now that your gorgeous creation is complete, let’s talk about styling it to maximum effect. The beauty of a handmade fall wreath is its versatility – it works in so many different settings throughout your home.
Front Door Display: This is the classic placement, and for good reason. Your wreath creates an immediate warm welcome for guests and makes your home feel festive from the curb. If you’re worried about weather exposure, consider adding a clear protective spray designed for artificial flowers.
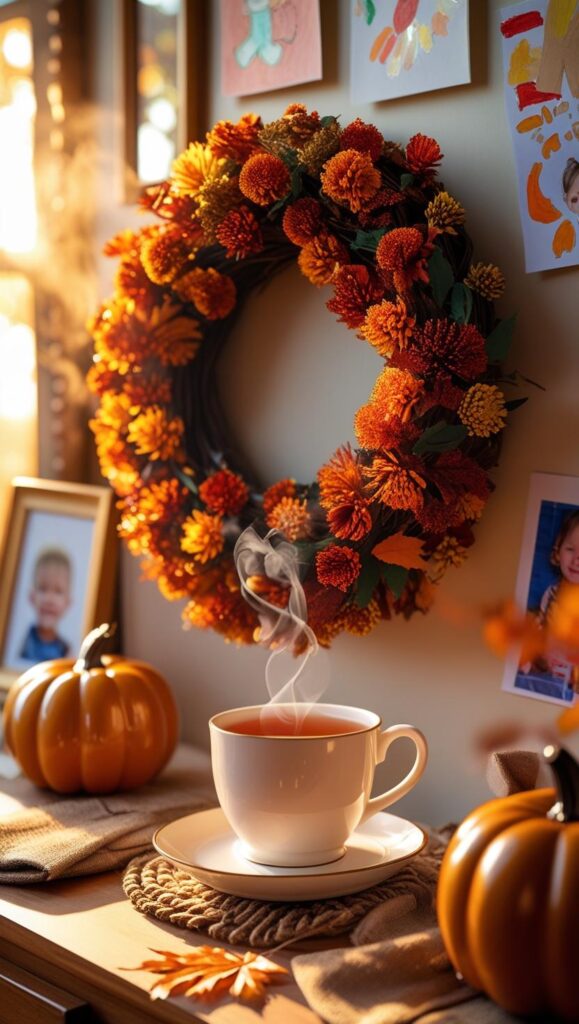
Interior Walls: Don’t limit yourself to outdoor display! Fall wreaths look absolutely stunning on interior walls, especially in entryways, above mantels, or in dining areas. The rich autumn colors add warmth and seasonal charm to any room.
Seasonal Vignettes: Use your wreath as part of a larger fall display. Surround it with pumpkins, gourds, autumn leaves, and warm-toned candles. This creates a cohesive seasonal story that feels intentional and designed.
Speaking of creating cozy fall vibes throughout your home, you might also love these ideas for decorating a small living room for fall – it’s all about creating that warm autumn atmosphere without overwhelming your space.
Making It Kid-Friendly
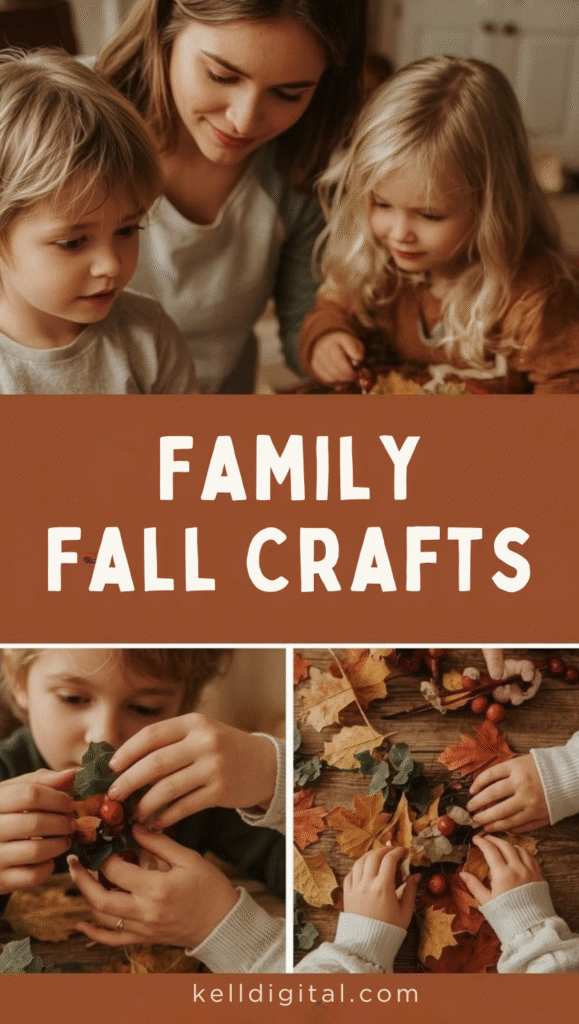
One of the best parts of this project is how easily you can involve your little ones. My kids love helping with fall crafts, and this wreath project is perfect for tiny hands to assist with.
Age-Appropriate Tasks: Toddlers can help sort leaves by color or size, while older kids can assist with gluing and arranging. Even teenagers might enjoy the creative process (especially if you frame it as making something for their Instagram!).
Safety Considerations: If you’re using a hot glue gun, keep it well out of reach of little hands. Consider using craft glue instead when kids are helping – it takes longer to dry but is much safer.
Teaching Moments: This project is perfect for talking about seasons, colors, and nature. You can discuss why leaves change color, what happens to trees in fall, and how different colors work together.
Creating Memories: Some of my favorite crafting memories involve my kids “helping” with projects like this. Yes, it might not turn out exactly as planned, but those little imperfections become cherished reminders of special time spent together.
Troubleshooting Common Issues
Even with the best intentions, sometimes our crafting projects don’t go exactly as planned. Here are some common issues I’ve encountered and how to fix them:
Sparse or Patchy Areas: If your wreath looks a bit bare in spots, don’t panic! This is easily fixed by adding more leaves or berries to fill in the gaps. Sometimes stepping back and taking a photo can help you see where you need more coverage.
Color Imbalance: If one color seems to dominate too much, you can balance it by adding small touches of contrasting colors throughout the wreath. A few strategic berries or leaves can fix this quickly.
Elements Falling Off: If pieces start coming loose, it’s usually because the glue didn’t adhere well initially. Clean off any old glue residue and reattach with fresh glue, holding firmly until it sets.
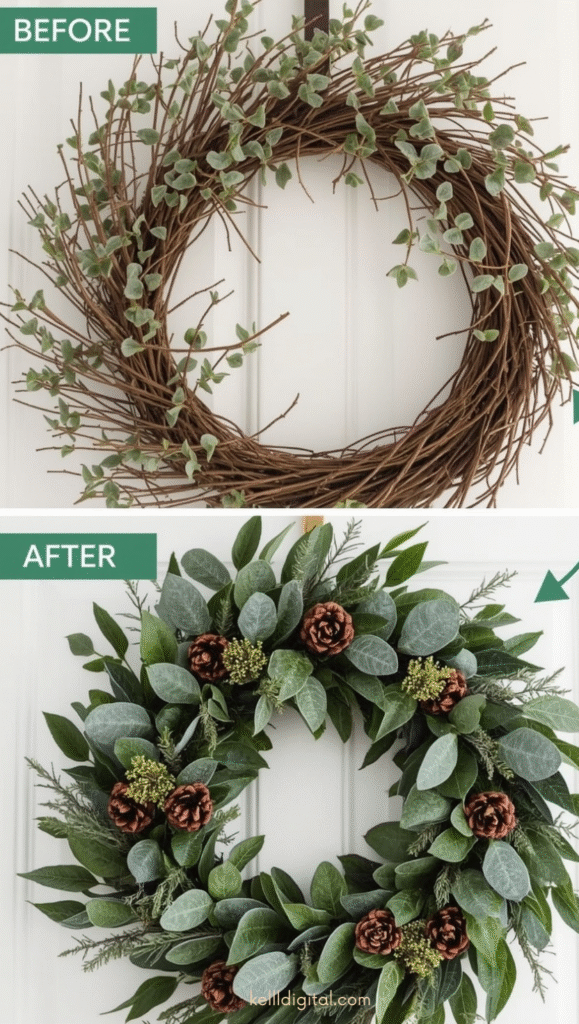
Wreath Looks Too “Crafty”: If your finished wreath looks too obviously homemade, try adding some natural elements like real twigs or pine cones (free from your backyard!) to give it more organic appeal.
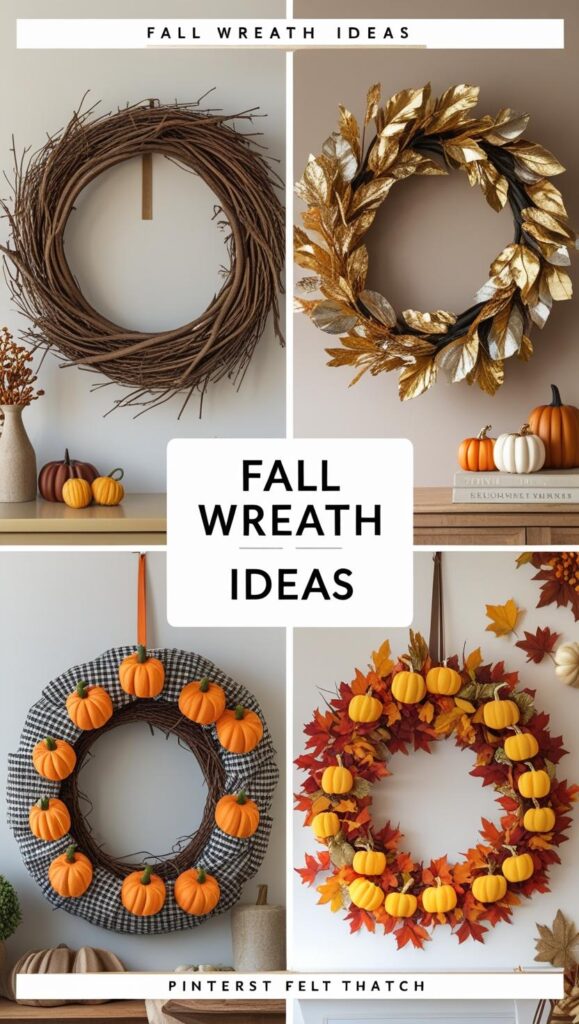
Beyond the Basic Wreath: Variations to Try
Once you’ve mastered the basic technique, you might find yourself wanting to experiment with different styles. Here are some variations I’ve tried that turned out beautifully:
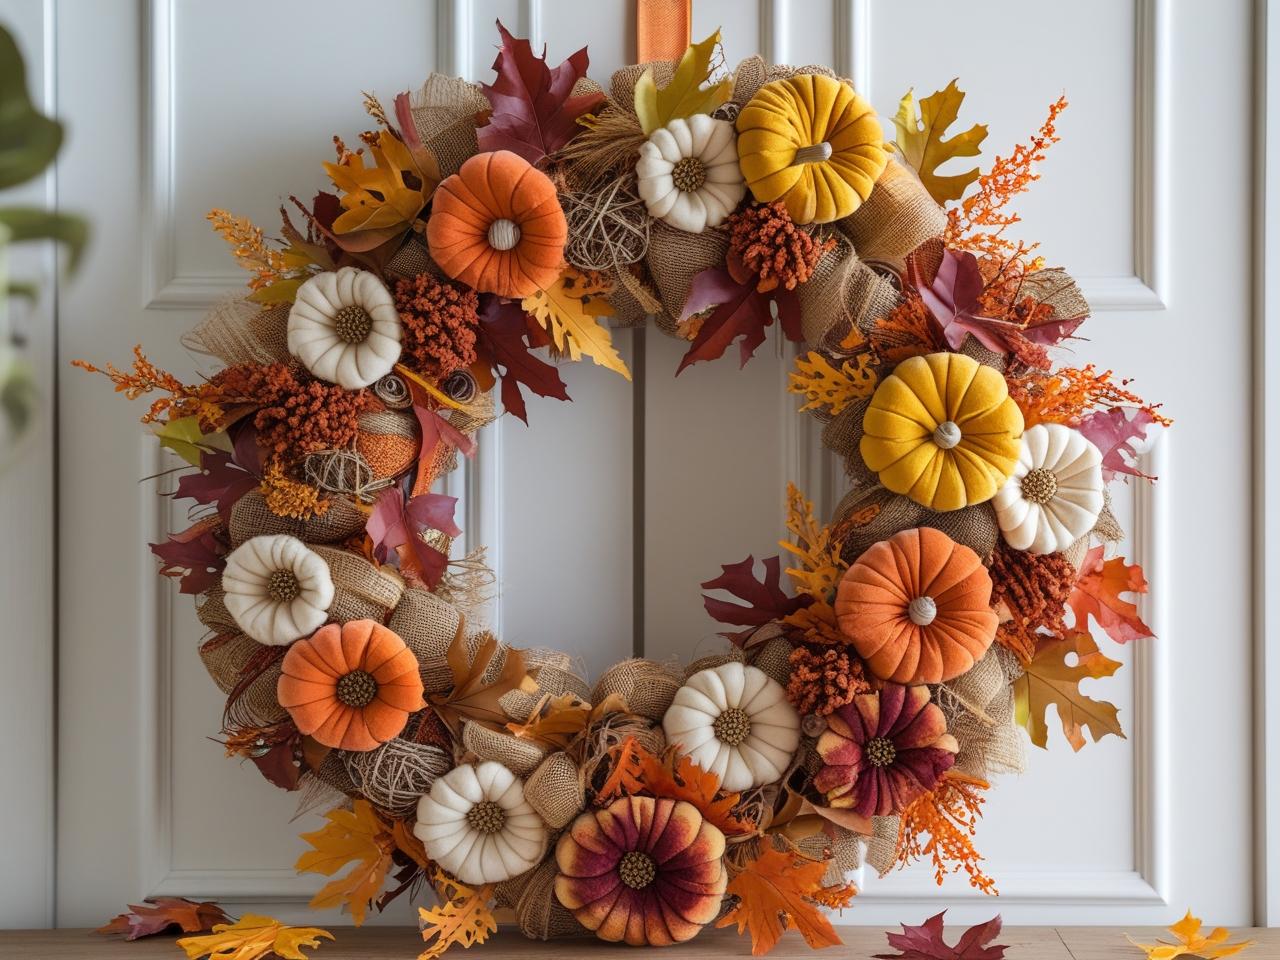
The Rustic Farmhouse Style: Add some small twigs, burlap ribbon, and maybe a few pine cones for that cozy country feel. This works especially well if your home décor leans toward the farmhouse aesthetic.
The Elegant Minimalist Approach: Use fewer elements but choose them carefully. Stick to two or three colors maximum, and focus on clean lines and balanced placement. Sometimes less really is more!
The Abundant Harvest Look: Go all out with lots of mini pumpkins, gourds, berries, and full, lush leaves. This creates a wreath that looks like it’s straight from a farmer’s market.
The Metallic Accent Version: Add some gold or copper spray paint to a few leaves or berries for a more sophisticated look. This works particularly well if your home has metallic accents.
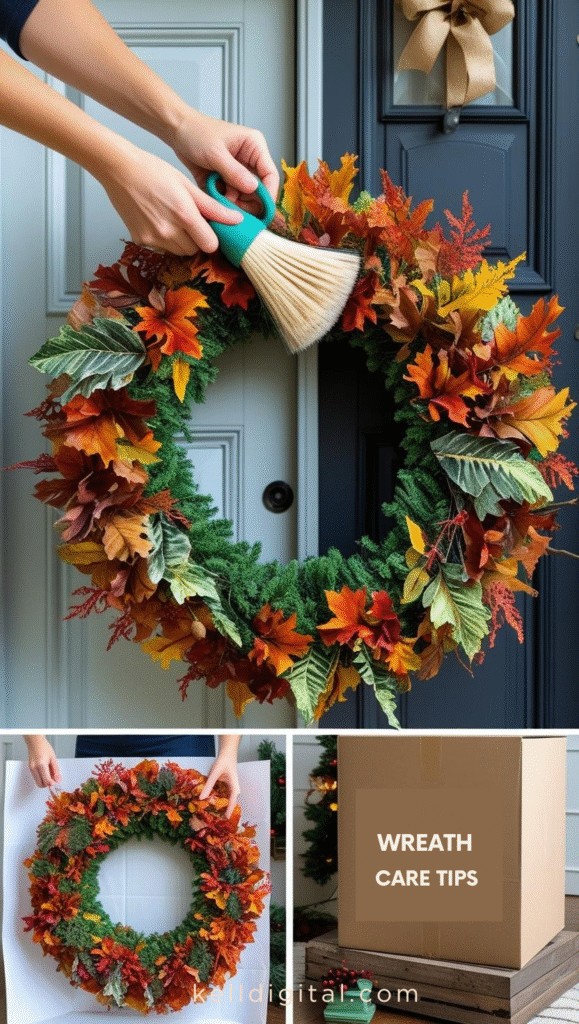
Caring for Your Dollar Store Wreath
One of the wonderful things about artificial wreaths is how long they can last with proper care. Since you’ve invested time and creativity (even if not much money) into making this, you’ll want to keep it looking beautiful throughout the season.
Regular Maintenance: Give your wreath a gentle dusting every week or two. A soft brush or even a hair dryer on cool setting can help keep it looking fresh. If it’s displayed outdoors, you might need to clean it more frequently.
Weather Protection: If your wreath is on an exterior door, consider bringing it in during severe weather. While dollar store materials are surprisingly durable, extreme conditions can cause fading or damage.
Storage for Next Year: When fall ends, carefully wrap your wreath in tissue paper and store it in a cool, dry place. I like to take a photo before storing so I remember exactly how it looked when I want to recreate it next year.
Creating Fall Magic on a Budget
As I’m writing this, my dollar store fall wreath is hanging on our front door, and I smile every time I see it. It represents so much more than just a decoration – it’s proof that you can create something beautiful without breaking the bank, that you can make time for creativity even in the chaos of mom life, and that homemade doesn’t have to mean “clearly amateur.”
The best part? Every time someone compliments it (and they will!), you get to share your secret. I love seeing the surprise on people’s faces when I tell them it cost less than $10 to make. It’s a reminder that creativity and resourcefulness often matter more than a big budget.
This project has become one of my favorite fall traditions. Sometimes I make them with friends during a crafting playdate, sometimes it’s a solo project during my precious quiet time, and sometimes it becomes a fun family activity. The memories created while making it are worth far more than the few dollars spent on supplies.
If you’re looking for more ways to create that cozy fall atmosphere in your home, you might also enjoy these 5-minute fall snack ideas that your kids will absolutely love – because nothing says fall like the smell of cinnamon and the sound of happy, well-fed children!
Your Turn to Create Fall Magic
I hope this post has inspired you to try making your own dollar store fall wreath. Remember, there’s no “wrong” way to do this – your creative instincts are probably better than you think they are. Trust yourself, have fun with the process, and don’t stress about making it perfect.
The most important thing is that you’re creating something beautiful for your home while staying within your budget and time constraints. That’s what makes this project so perfect for busy moms like us.
So grab those supplies on your next dollar store run, put on your favorite fall playlist, and give yourself permission to create something just for the joy of it. Your home (and your family) will thank you for it.
I’d love to hear from you! What’s your biggest challenge when it comes to fall decorating on a budget? Are you planning to try this wreath project, or do you have your own dollar store crafting success story to share? Drop a comment below – I read every single one and love connecting with fellow creative moms!
Happy crafting, mama!
Pin this post for later and follow me for more budget-friendly home décor ideas that work for real families with real budgets and real time constraints. Because we all deserve a beautiful home, regardless of our circumstances!




Haven’t often taken the extra time to read “everything”, but did today and I was amazed at the wonderful ideas and detailed directions. Thank you – you can be sure I will try these great ideas!