I’m always on the lookout for creative and sustainable ways to spruce up my home and garden. Recently, I stumbled upon the idea of upcycling a simple water bottle into a beautiful garden fountain, and I couldn’t wait to try it out. Not only is this project eco-friendly, but it also adds a unique, personal touch to my outdoor space. If you’re like me and love DIY projects that combine functionality with style, you’re going to enjoy this one. Plus, it’s a great way to repurpose something that would otherwise end up in the trash. Let’s get started!
Materials Needed
Here’s what you’ll need to create your own garden fountain:
- An empty plastic water bottle
- A small water pump (you can find these at most hardware stores or online)
- Tubing (usually comes with the pump)
- Decorative stones or pebbles
- Waterproof sealant
- Scissors or a utility knife
- A drill
- Paint and brushes (optional, but fun!)
- A glue gun
Step-by-Step Instructions
- Prepare the Water Bottle
First, I cleaned the water bottle thoroughly to remove any labels or sticky residue. Once it was dry, I used scissors to cut the bottle into the shape I wanted for the fountain. I decided to go with a simple spout design, but you can get creative here—maybe try a zigzag edge or a wave pattern! Next, I drilled a small hole in the bottle cap to fit the tubing from the water pump. - Assemble the Pump
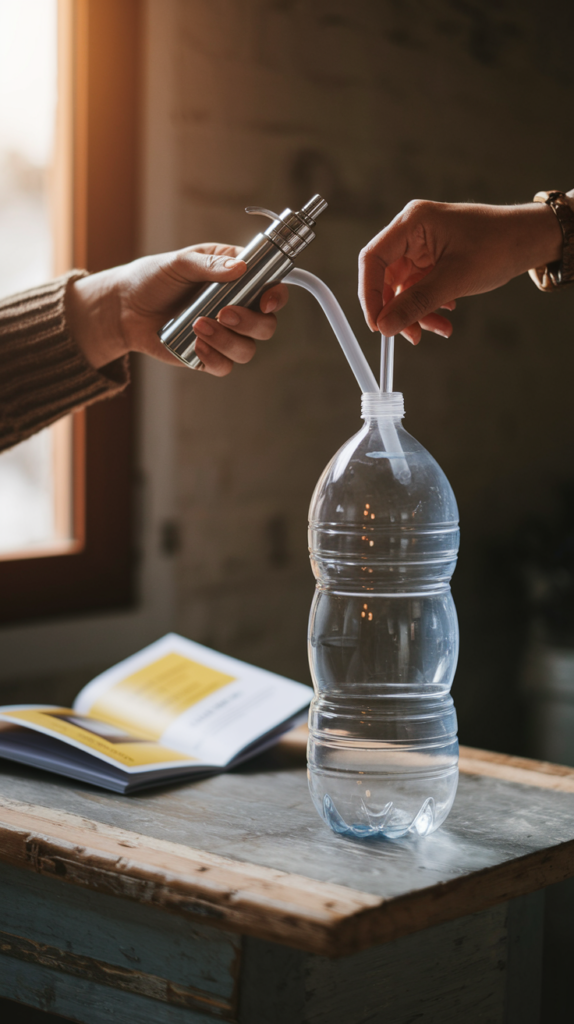
I attached the tubing to the water pump and fed the other end through the hole in the bottle cap. Then, I placed the pump inside the bottle, making sure it was secure at the bottom. The tubing should stick out of the cap, ready to create that soothing water flow.
- Decorate the Bottle
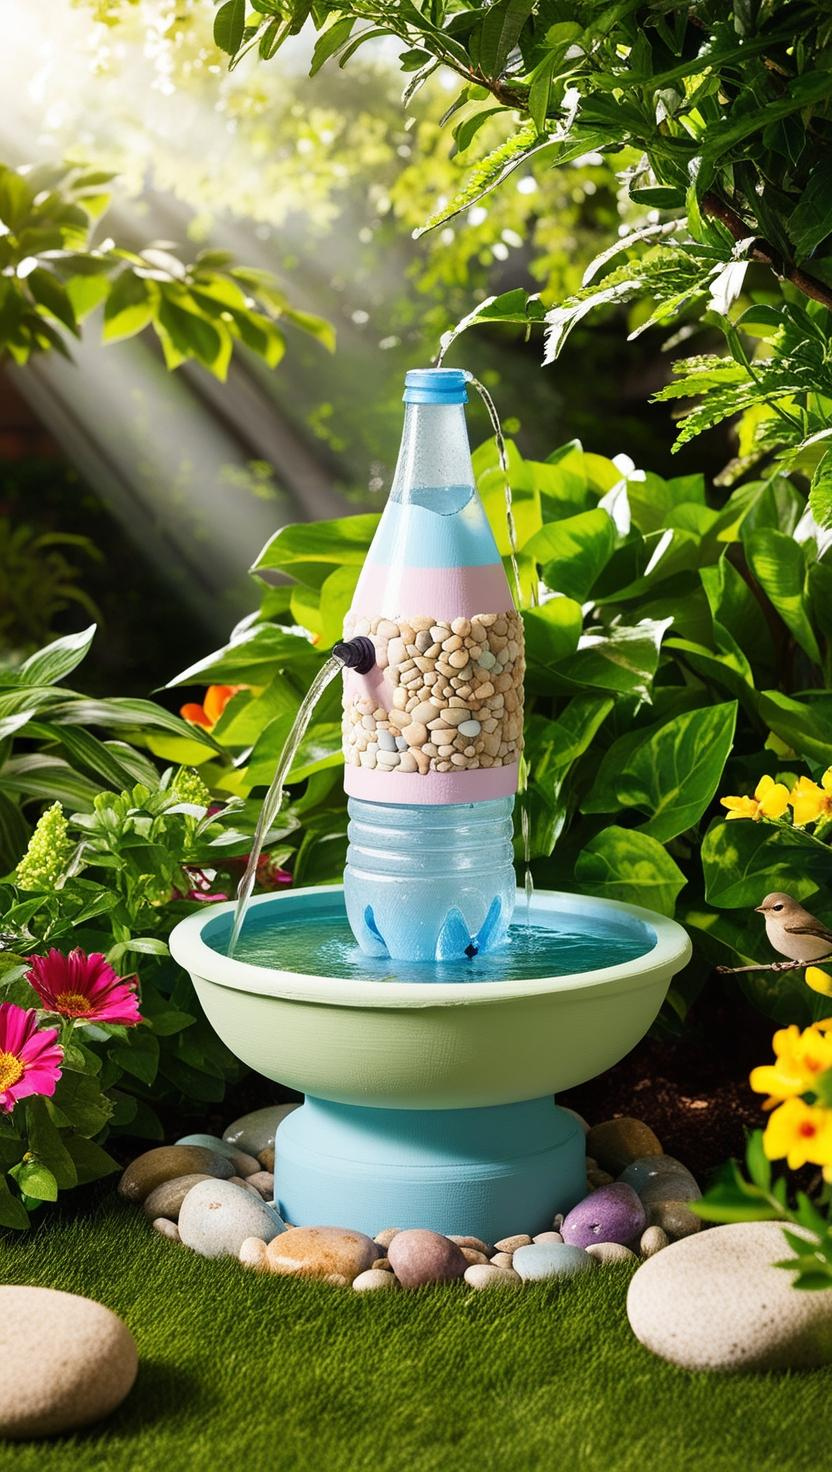
This is where the fun really begins! I decided to paint the bottle in a soft green color to blend in with my garden. Once the paint dried, I used a glue gun to attach small pebbles and stones to the outside of the bottle. This gave it a natural, rustic look. If you’re feeling extra creative, you could even add mosaic tiles or seashells! Just make sure everything is waterproof and securely attached. - Set Up the Fountain
I chose a cozy corner of my garden to place the fountain. After positioning the bottle, I filled it with water and connected the pump to a power source. (Pro tip: If you want to go eco-friendly, consider using a solar-powered pump!) I turned it on, and voilà—my very own garden fountain was born! - Final Touches
To complete the look, I arranged some larger decorative stones around the base of the fountain. This not only added to the aesthetic but also helped stabilize the bottle. I adjusted the water flow to create a gentle trickle, which was so relaxing to listen to.
Tips and Tricks
- If you’re using a solar-powered pump, place your fountain in a sunny spot to keep it running efficiently.
- Clean the fountain regularly to prevent algae buildup—just a quick rinse every week or so should do the trick.
- Don’t be afraid to experiment with different bottle shapes and decorations. Every fountain can be unique!
Conclusion
Creating this garden fountain was such a rewarding experience. It’s amazing how something as simple as a water bottle can be transformed into a beautiful and functional piece of decor. Plus, it’s a great way to practice sustainability and add a personal touch to your outdoor space.
If you’re looking for more creative DIY projects, I highly recommend checking out these posts from Kell Digital:
- 10 Brilliant Small Space Storage Solutions That Stylishly Double as Decor – Perfect for maximizing space while keeping things stylish.
- Creative Ways to Use Mason Jars for Home Organization & Decor – A must-read for mason jar enthusiasts like me!
- DIY Outdoor Decor for Your Patio or Balcony: A Cozy Oasis in the Making – Full of inspiring ideas to make your outdoor space cozy and inviting.
I’d love to see how your garden fountain turns out! Share your creations with me in the comments or on social media. Happy crafting!


