Have you ever looked at an empty egg carton and thought, “What can I do with this?” I used to toss mine in the recycling bin without a second thought—until I discovered how to turn them into stunning handmade flowers! Not only is this project eco-friendly, but it’s also a fun and creative way to make something beautiful. Whether you’re crafting for Mother’s Day, sprucing up your home decor, or looking for a fun activity with the kids, these egg carton flowers are perfect. Plus, I’ve included a free printable guide to make the process even easier. Let’s get started!
Want to see how it’s done before you start? Watch this quick video tutorial for step-by-step instructions!
Materials You’ll Need
Before we dive into the fun part, let’s gather everything you’ll need:
- Empty egg cartons (cardboard works best!)
- Acrylic paint in your favorite colors
- Paintbrushes (one for each color to avoid mixing)
- Scissors for cutting the cartons
- Glue (hot glue or craft glue works fine)
- Green pipe cleaners or floral wire for stems
- Optional: Glitter, beads, or markers for extra decoration
Step-by-Step Instructions
1. Cut the Egg Cartons
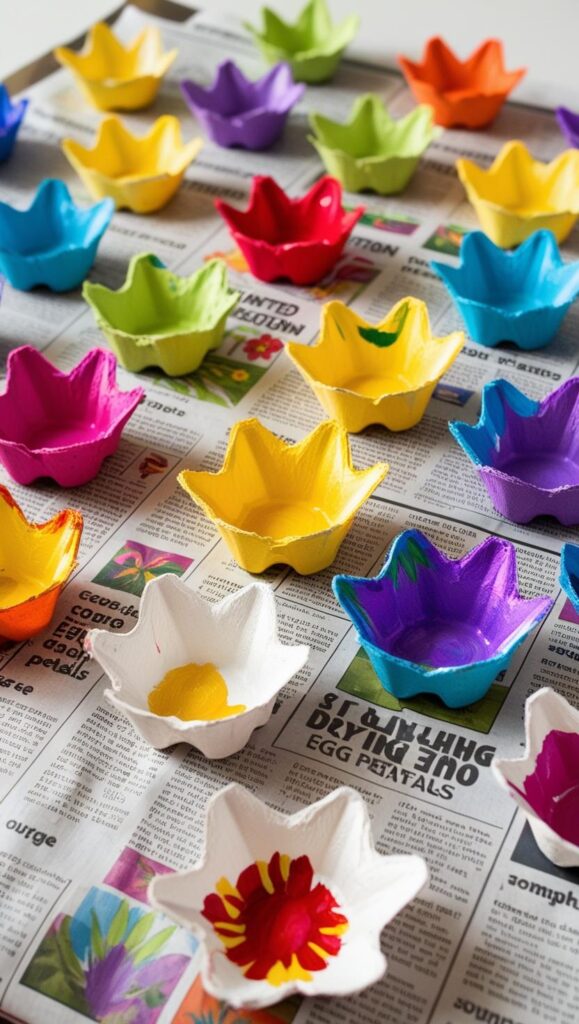
Start by cutting out individual cups from the egg carton. Use scissors to trim the edges into petal shapes—round, pointed, or scalloped, depending on the look you’re going for. Don’t worry about making them perfect; the imperfections add charm!
2. Paint the Flowers
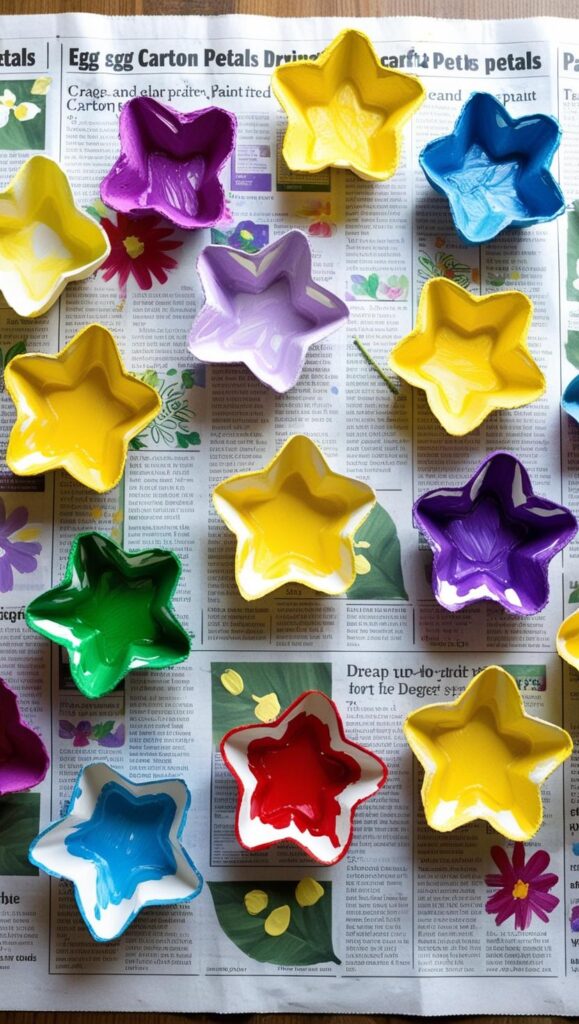
Next, it’s time to add some color! Use acrylic paint to coat the petals inside and out. Let your creativity shine—mix colors, add gradients, or even paint patterns like polka dots or stripes. Let the petals dry completely before moving on to the next step.
3. Shape the Flowers
Once the paint is dry, gently bend the petals outward to give them a natural, blooming look. You can also curl the edges slightly for a more realistic effect.
4. Assemble the Flowers
Stack two or three painted cups together and glue them at the base. Poke a small hole in the center of the stacked cups and insert a green pipe cleaner or floral wire as the stem. Secure it with a dab of glue.
5. Add Finishing Touches
Now it’s time to make your flowers truly unique! Add glitter to the edges, glue beads to the center, or use markers to add details. The possibilities are endless!
Tips for Customizing Your Flowers
- Mix and Match Colors: Use a color palette that matches your home decor or the occasion.
- Experiment with Shapes: Try cutting the petals into different shapes for a varied bouquet.
- Add Foliage: Use green construction paper or felt to cut out leaves and attach them to the stems.
- Create a Centerpiece: Arrange your flowers in a vase or mason jar for a beautiful table decoration.
Free Printable Guide
Before you start crafting, grab your free printable guide with all the materials and instructions you’ll need! Print it out and keep it handy as you create your egg carton flowers.
FAQs
Q: How long does it take to make egg carton flowers?
A: Each flower takes about 15-20 minutes to make, depending on how detailed you want to get.
Q: Can kids help with this project?
A: Absolutely! This is a great craft for kids, but they may need help with cutting and assembling.
Q: What can I use these flowers for?
A: They’re perfect for Mother’s Day gifts, home decor, party decorations, or even as a fun activity for kids.
Conclusion
Turning egg cartons into handmade flowers is not only a fun and creative project but also a great way to repurpose materials and reduce waste. Whether you’re making them for Mother’s Day, home decor, or just for fun, these flowers are sure to brighten anyone’s day. Don’t forget to download the free printable guide to make the process even easier. I’d love to see your creations—share them with me in the comments below or tag me on social media. Happy crafting!
Related Posts
- If you loved this project, check out these other eco-friendly crafts: DIY Mini Fairy Gardens.
- Looking for more Mother’s Day gift ideas? Try these Creative Ways to Use Mason Jars.
- For more DIY inspiration, explore DIY Outdoor Decor for Your Patio or Balcony.
Let’s make the world a little more beautiful, one egg carton at a time! 🌸


Pingback: Extremely Creative Clothespin Craft Ideas for Kids to Make & Enjoy! 2025