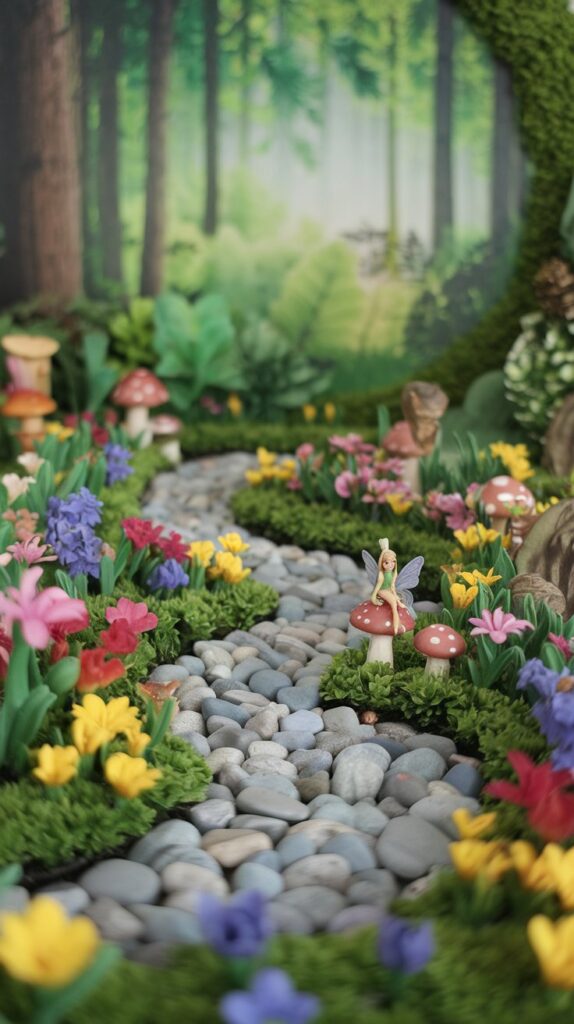
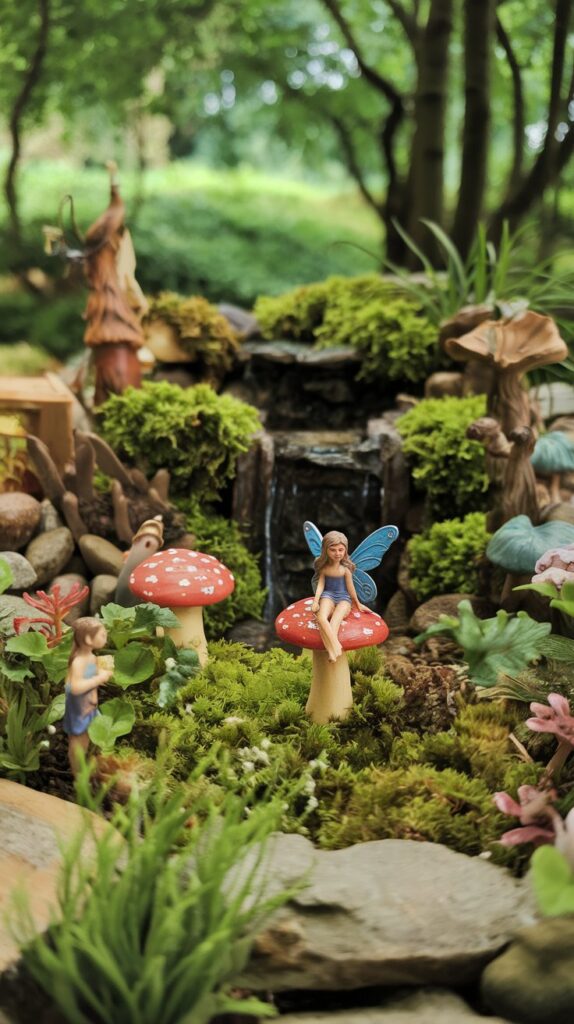
Imagine a world where tiny fairies dance among vibrant flowers, enchanting pebble paths, and cozy miniature homes. That’s exactly what you and your kids can create with DIY mini fairy gardens! This delightful outdoor craft combines imagination, creativity, and a whole lot of love. Plus, it’s the perfect way to encourage kids to connect with nature while indulging in playful creativity.
Let’s dive into how you can create magical mini fairy gardens with your kids and make memories that will last a lifetime.
What You’ll Need to Get Started
Before you dive into creating your enchanting fairy wonderland, gather the following supplies:
- Container: Any shallow pot, wooden crate, or old drawer will work.
- Soil: Potting soil to plant flowers and greenery.
- Miniature Plants: Choose small succulents, moss, and colorful flowers.
- Fairy Garden Accessories: Tiny houses, bridges, fences, and fairy figurines (you can purchase these or DIY them with your kids).
- Natural Elements: Pebbles, twigs, shells, and pinecones.
- Craft Supplies: Hot glue gun, paint, and craft sticks for creating your own decorations.
Step-by-Step Instructions
1. Choose the Perfect Location
Choose a sunny or partially shaded spot where your mini fairy garden can thrive. If you’re setting it up outdoors, look for a location that gets morning sun but is protected from intense afternoon rays to keep the plants happy and healthy. Your porch can also be a fantastic spot, offering shelter from heavy rain and strong winds. This makes maintenance easier while still providing natural light. Keep in mind that a stable and accessible location will make it easy for your kids to play, rearrange, and care for their magical creation.
2. Pick Your Container
Select a container that’s large enough to accommodate a variety of plants and charming decorations. You can get creative with your choices—consider using old wooden crates, wide ceramic bowls, or repurposed vintage metal tubs. If your container doesn’t come with drainage holes, be sure to drill a few at the bottom to prevent water from pooling, which can harm your plants. Keep in mind that containers with a bit of depth allow for a more dynamic garden landscape where kids can create zones for their imaginative fairy scenes. Additionally, lightweight containers are easier to move around if you decide to relocate your magical creation.
3. Layer the Base
Begin by spreading a layer of small pebbles at the bottom of your container to ensure proper drainage and prevent root rot. Next, add a generous layer of nutrient-rich potting soil, filling the container to about three-quarters full. Make sure the soil is evenly spread and lightly pressed down, providing a stable base for your plants. This layered setup not only supports healthy plant growth but also helps maintain the garden’s structure as your kids arrange decorations and accessories.
4. Plant the Greenery
Let your kids dive into the fun of planting small succulents, patches of moss, and bright flowers. Guide them to think about creating different zones—perhaps a cozy nook for fairy gatherings or a lush pathway lined with greenery. Encourage creativity by letting them decide where each plant goes and experiment with plant combinations to create their own whimsical landscapes. This process is a wonderful opportunity to teach them about how plants grow and thrive, sparking curiosity about nature. Plus, digging in the dirt and getting their hands messy is always a win for little ones!

5. Create Paths and Zones
Use smooth, colorful pebbles or natural small stones to design charming, winding paths that lead fairies on magical adventures throughout the garden. Encourage your kids to get creative by experimenting with different patterns—like spirals or zigzags—for added whimsy. You can even sprinkle glitter along the paths for a touch of sparkle. Add tiny fences crafted from twigs or miniature craft sticks to neatly section off different areas, creating cozy zones for fairy gatherings or secret hideouts. This attention to detail will make your garden truly enchanting while sparking imaginative play.

6. Add Fairy Accessories
Place miniature houses, bridges, and fairy figurines throughout the garden, creating a magical world for your little ones to explore. Encourage your kids to decide where each item should go—perhaps a fairy home nestled under a succulent or a winding pebble path leading to a tiny bridge. You can even build a small pond using a shallow dish filled with water for added enchantment. This is a fantastic opportunity to spark your child’s storytelling abilities as they imagine fairies going about their daily adventures. Let their creativity shine as they craft playful scenes and magical narratives throughout the garden.
7. DIY Craft Decorations
Here’s where the real magic happens! Get creative by using craft sticks to build intricate fairy houses with charming doors and windows. Encourage your kids to paint rocks in bright colors to serve as whimsical garden markers, labeling different zones of your fairy garden. Gather twigs and glue them together to craft tiny rustic benches that can serve as fairy resting spots. You can even create decorative arches or miniature fences using flexible craft sticks. These handmade elements add a personal and imaginative touch to your fairy garden, making it a truly enchanting space for creative play.

8. Add Final Touches
Scatter pinecones, shells, and tiny flower petals for extra whimsy. Don’t forget to sprinkle a little “fairy dust” (glitter) to complete the magical scene.
Creative Ideas for Fairy Garden Themes
If you’re looking for even more inspiration for your mini fairy garden project, check out our 31 Enchanting Mini Fairy Garden Ideas to Create in Just 1 Hour. This post offers quick and easy ideas that will help spark your creativity and give you new ways to style your fairy garden. Whether you’re working with limited time or want to add extra magic to your DIY creation, these enchanting themes and designs will take your mini garden to the next level.

Tips for Success
- Encourage Kid-Led Creativity: Let your kids make design decisions and craft their own decorations.
- Use Durable Materials: Choose weather-resistant accessories if your garden will be outdoors.
- Maintain the Garden: Teach your kids to care for the plants and rearrange decorations as needed.
Benefits of Crafting Mini Fairy Gardens
Crafting mini fairy gardens is more than just fun; it offers numerous benefits:
- Boosts Creativity: Kids can dream up magical worlds and bring them to life.
- Encourages Outdoor Play: Get your kids outside and interacting with nature.
- Enhances Fine Motor Skills: Planting, crafting, and arranging accessories improve hand-eye coordination.
Related Craft Ideas for Kids
Looking for more creative activities? Check out these fun ideas:
- 15 Fun and Creative Playdough Recipes for Family Craft Time
- 30 Fun and Creative Rainy Day Activities for Kids
- 20 Fun Clay Projects for Kids to Create
- 10 Creative Playdough Activities for Fun-Filled Family Evenings

A Magical Craft for Every Season
Creating DIY mini fairy gardens is a magical experience that brings joy, creativity, and a touch of nature to your family’s crafting time. Whether you’re a seasoned gardener or a total newbie, this activity will leave your kids with glowing smiles and unforgettable memories.
So grab those tiny figurines, sprinkle a bit of fairy dust, and start crafting magic with your little ones today!


